
DOWNLOAD THE APP


Customer Services
Copyright © 2025 Desertcart Holdings Limited
DOWNLOAD THE APP


⚙️ Elevate your motor control game — precision, power, and protection in one sleek inverter!
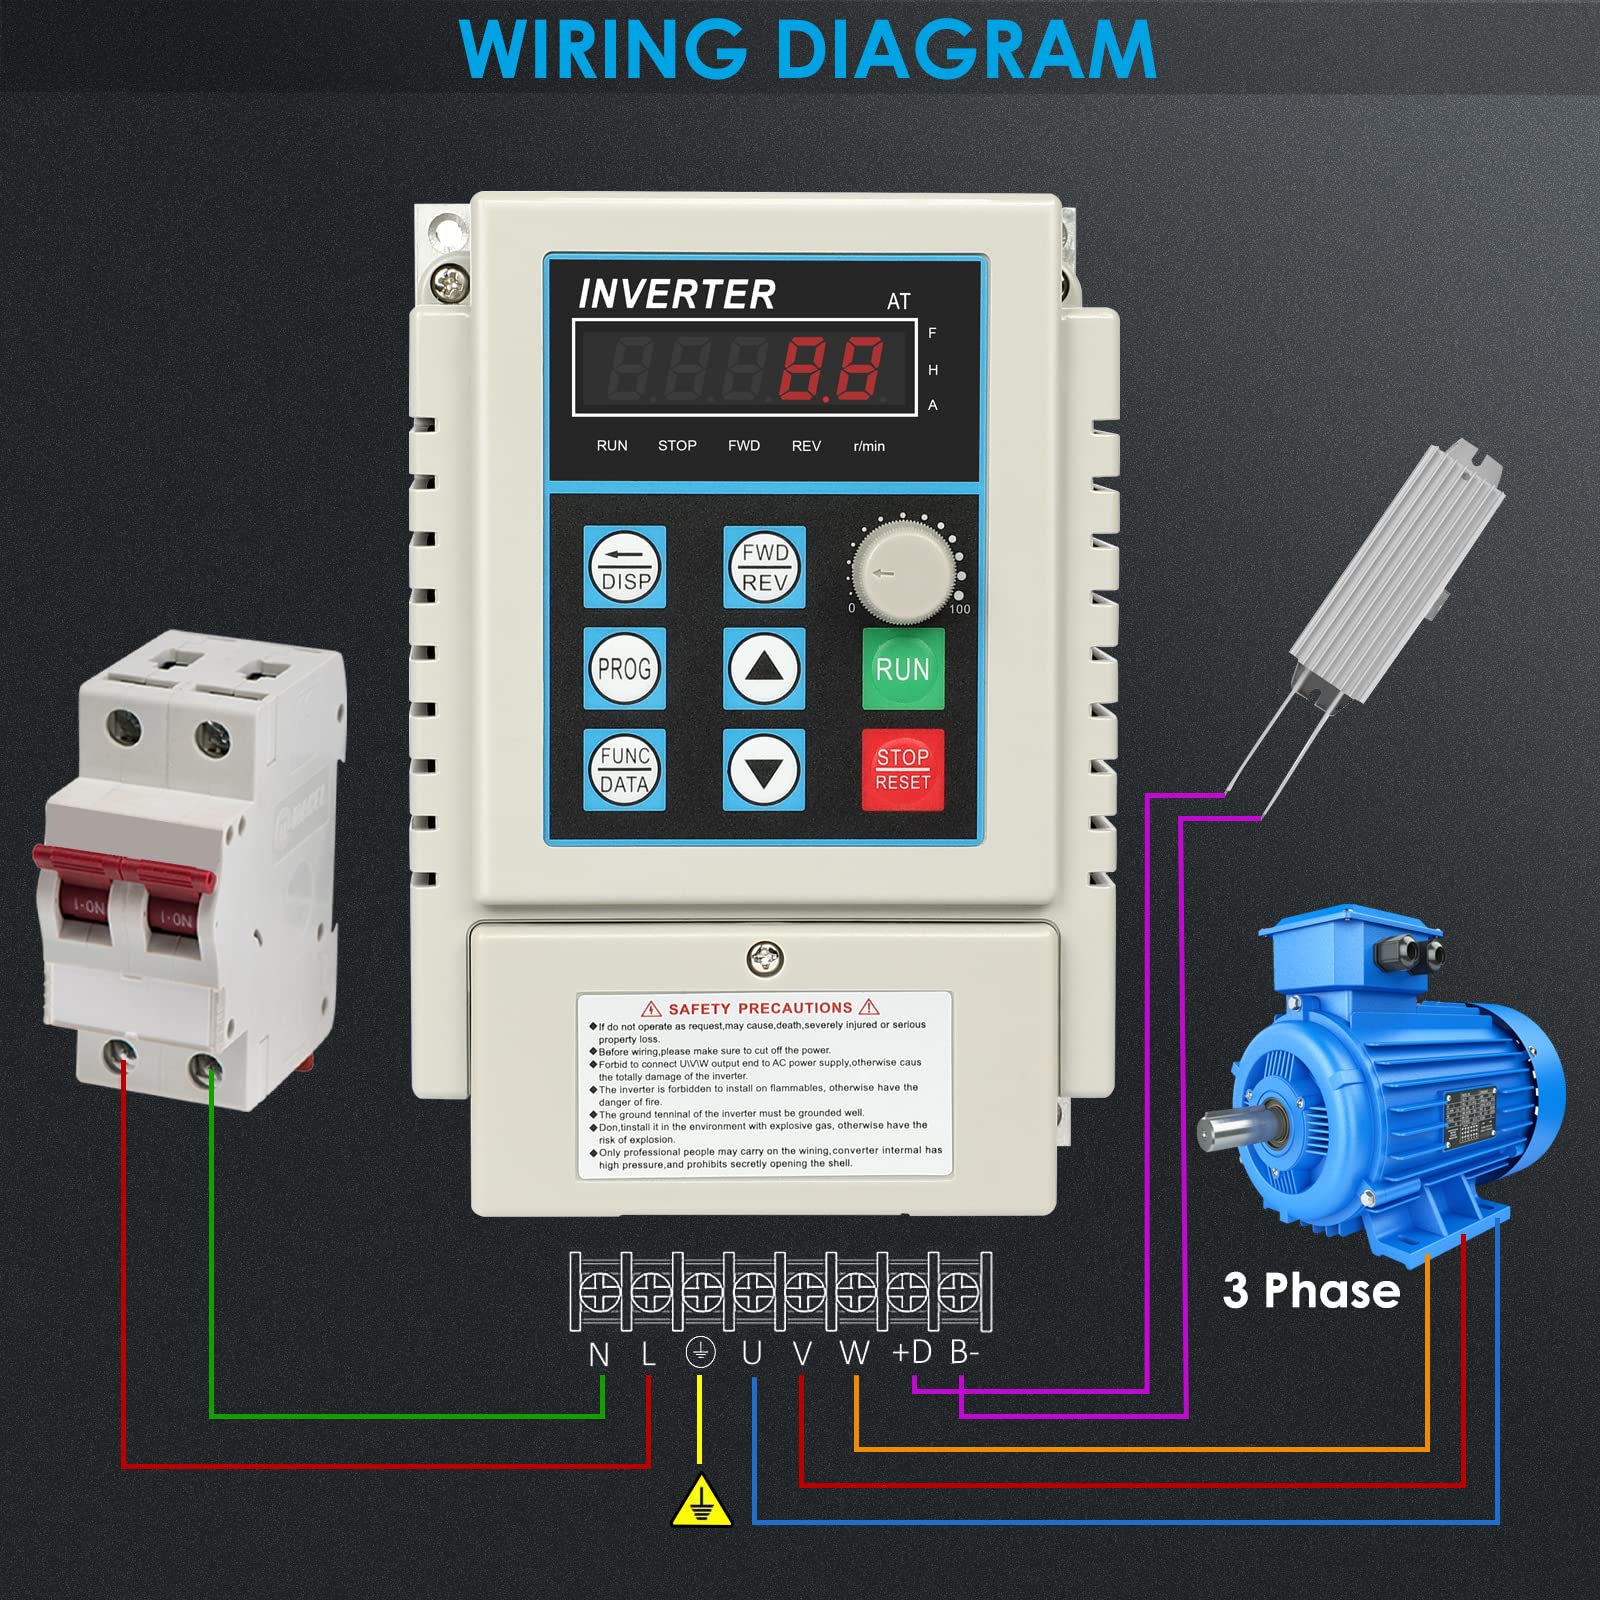
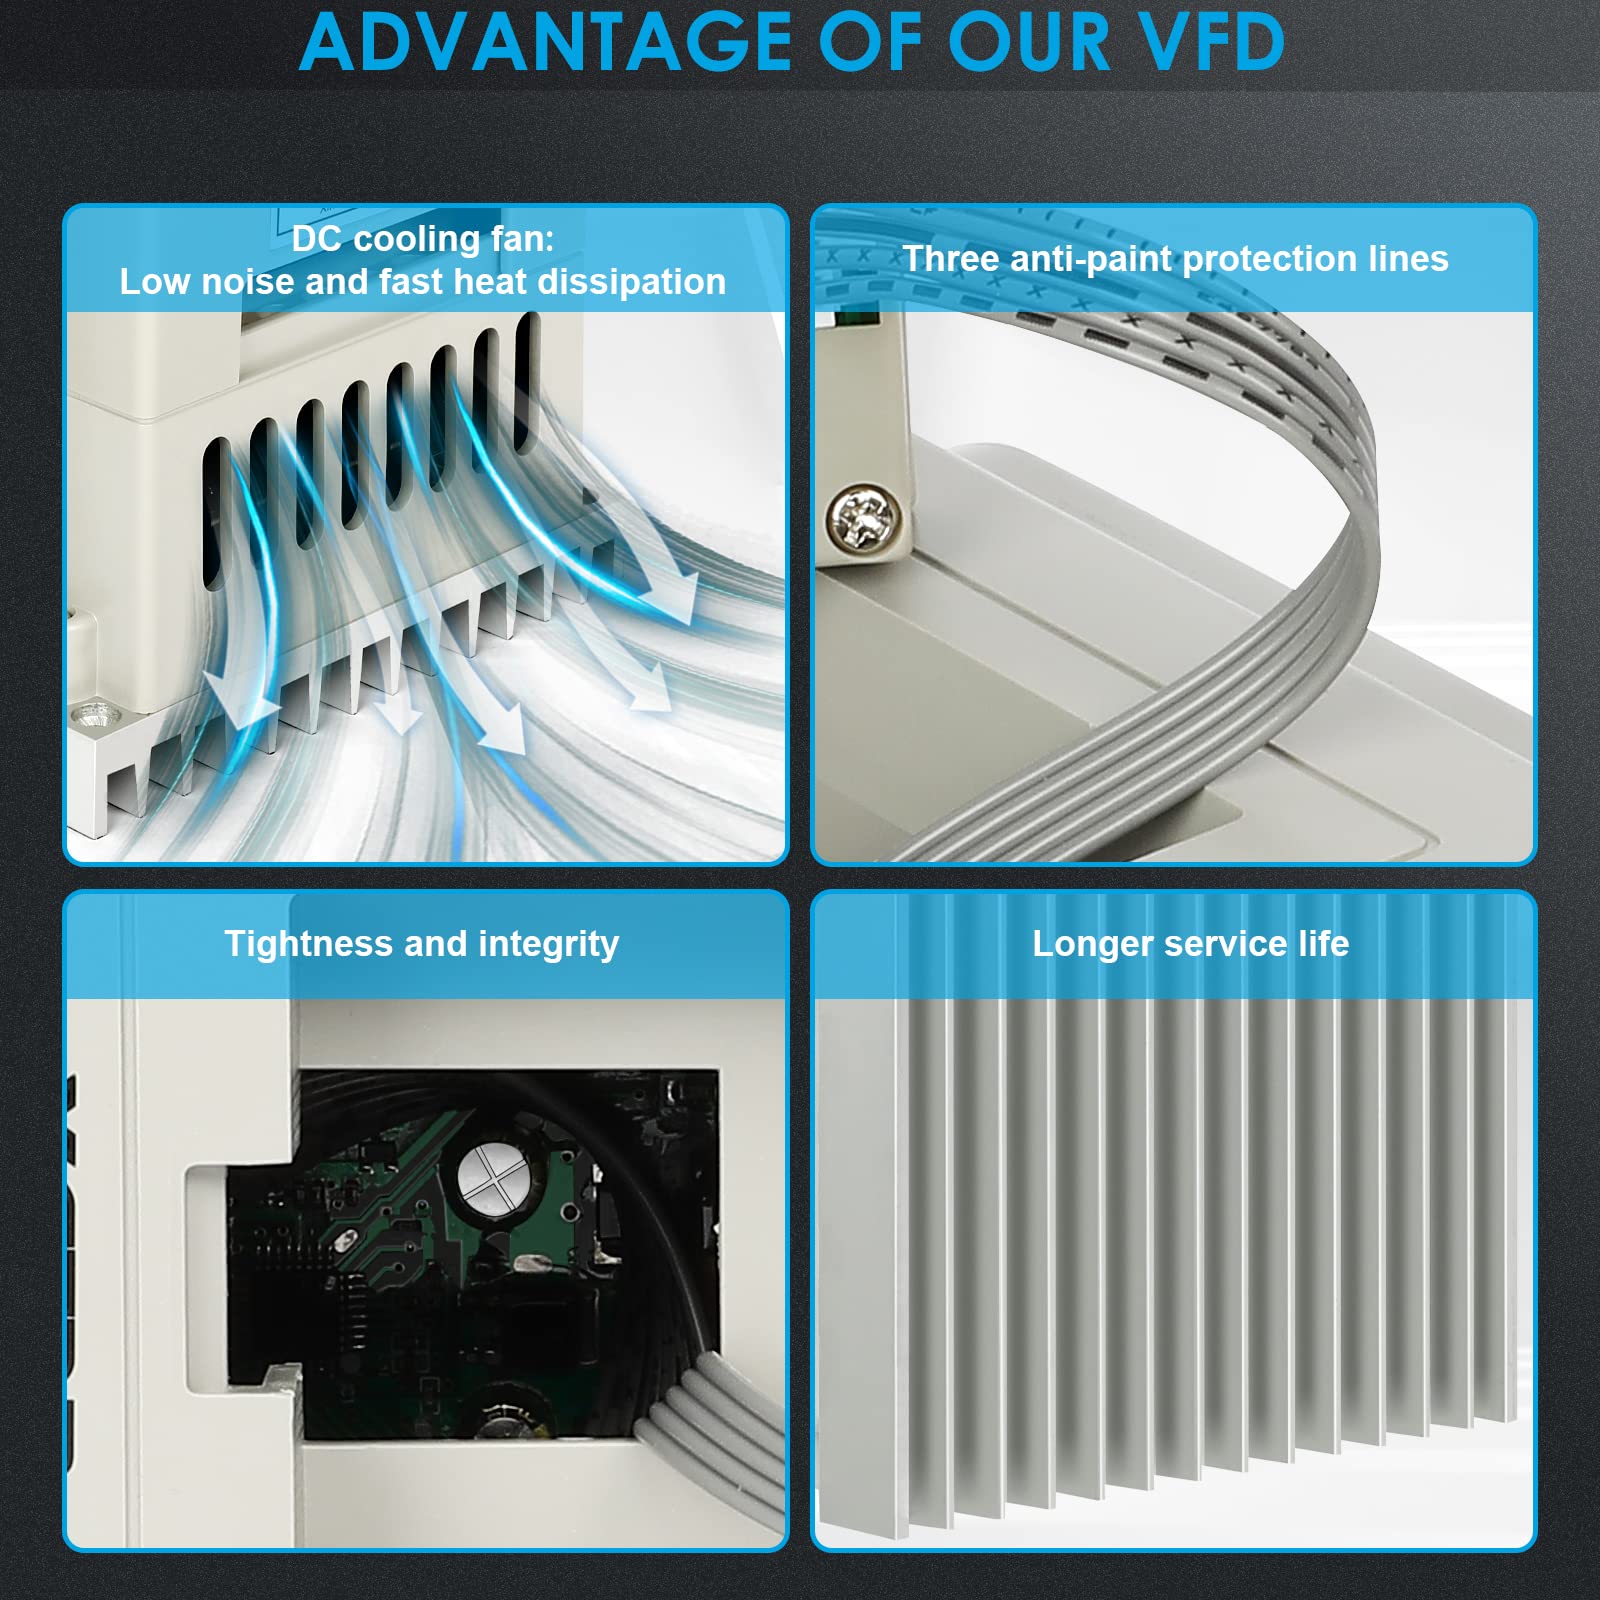
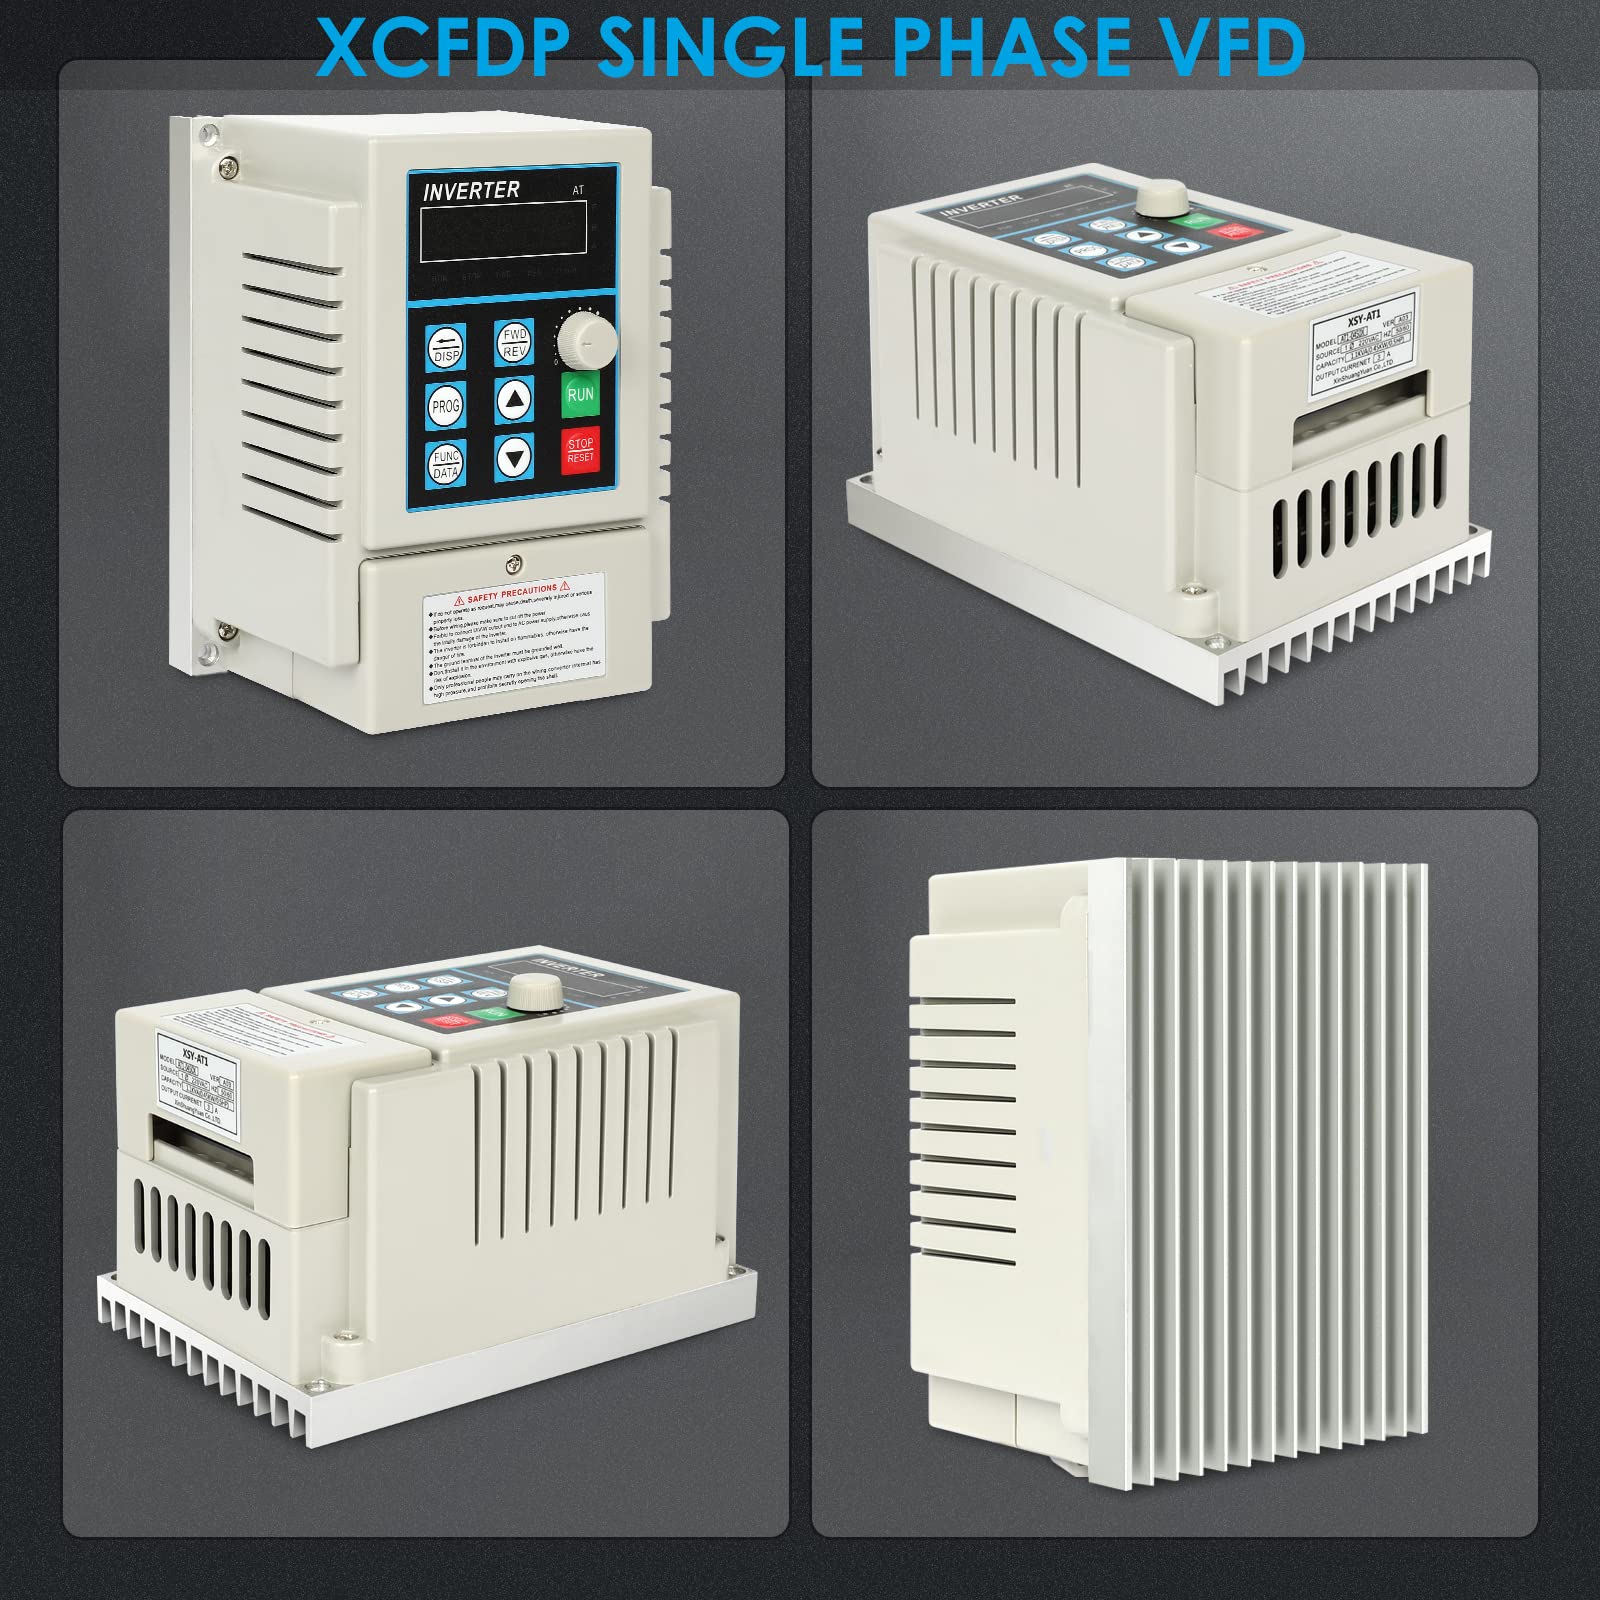
The XCFDP AC 220V 0.75KW 1HP Variable Frequency Drive converts single-phase input to three-phase output with a wide 0-400Hz frequency range, enabling precise motor speed control. Built with high-quality copper coils and advanced cooling, it offers robust multi-protection features for safe, durable operation. Ideal for CNC machines, spindle motors, HVAC, and more, this compact VFD supports motors up to 1.5HP and comes with an easy-to-use interface plus 18 months warranty and lifetime tech support.


| ASIN | B09KN61FGY |
| Best Sellers Rank | #116,203 in Tools & Home Improvement ( See Top 100 in Tools & Home Improvement ) #58 in Electrical Motor Controls |
| Brand | XCFDP |
| Brand Name | XCFDP |
| Color | White |
| Customer Reviews | 4.2 out of 5 stars 226 Reviews |
| Display Type | LCD or LED |
| Included Components | VFD |
| Item Dimensions L x W x H | 4.57"L x 3.98"W x 6.38"H |
| Item Weight | 0.48 Kilograms |
| Manufacturer | XCFDP |
| Material | Copper |
| Material Type | Copper |
| Product Dimensions | 4.57"L x 3.98"W x 6.38"H |
| Unit Count | 1.0 Count |
| Voltage | 220 Volts |
A**E
Don’t be afraid to try to install…. You can do it with research
Take a chance, and take your time installing. The first one I received did not light up, so I was a bit concerned. But I have had good luck so far , so I opted for a replacement. The replacement came the same day and it did not fail to perform. I have been researching VFD programming for 3 phase machinery for a week. After changing every hertz value to 60, I powered up the spindle and watched it slowly creep into a full rotation speed and upwards to the fired speeds. The initial install is basic , I have not wired in my momentary switches for direction and stop. I will also add an external tach on the machine. But that is in the future. All in all it was worth buying, my machine is only running a 3/4 hp 3 phase motor. I will eventually need something bigger , but for now this is great! Compared to the sounds of machinery I think the VFD is quiet
R**D
Works well
I'm using this for a belt grinder. I thought it had fried one day. Saw a big spark at the control box and blew the breaker in my panel. But, it was my own fault. Either the wall switch or the control box got some grinding dust in it and that's what caused the problem. I reset the breaker and all was well. I then got a bit wiser and put a ziplock over the top of the switch and the panel to keep grinding dust away from them. It's been working flawlessly for 4 or 5 months now. Point is, the VFD is great. I'm running a 1.5HP 220v Hallmark 1800 RPM motor. I over-speed the motor by 50% (90 on the frequency dial) to get 2700 RPM. Supposedly, I should be able to turn it up to 120 or even 130...but I'm pretty happy where it's set now. FYI, I don't think I had to change any settings to initially run with a frequency cap of 60. So, very easy to set up. The wiring space is a bit limited. MY tip is: Don't use wirenuts - use WAGO connectors. They fit much more easily.
R**G
Perfect Bridgeport Retrofit !
I used the AT1-1500 2HP unit to power up a 1966 Bridgeport Series 1 1 HP mill. The motor was originally wired for 440 VAC 3-phase. I only had 220VAC 1-phase in my barn. I reconnected the motor leads for 220VAC. The unit worked flawlessly in converting 1-phase to 3-phase. I am an engineer and have installed many VFD drives. The instructions are somewhat difficult to understand. There several videos online that are helpful and the seller's tech team responded to emails within 1-2 days. There are a few things that the unit does not like. Most Bridgeports have a reversing drum switch mounted on the motor. My original intent was to power up the VFD with the run command at the same time. The VFD goes through a brief self diagnostic routine when it is first powered up. Calling for a run command at startup caused an Error 1 display. When I added a separate Off-Run switch, the unit functioned without error since there was an inherent delay between powering the VFD and switching it into run mode. Secondly, the unit did not work with the reversing drum switch. After switching the VFD to run, I actuated the drum switch and the unit tripped out on overload (Error 2). Positioning the drum switch in forward or reverse before commanding the VFD into run eliminated this. I removed the drum switch and replaced it with an aluminum junction box from Amazon. I changed the Off-Run switch to a 3-position Reverse-Off-Forward switch and wired it to terminals X4 and X5. The motor worked perfectly. I set the minimum Hertz (P07) to 60.0. Running an older, non-inverter duty motor at less than full RPM can cause it to overheat. A replacement motor is $1500. I am content to change the belt drive step pulleys. Lastly, because the AC sine wave current is generated by modulating pulses of DC current, a standard Amprobe meter will not read the correct input or output amperage. But, the motor amp draw can be displayed on the control unit.
N**A
Works for now, but.....
THE GOOD: - It worked when powered up! - The parameters were preset pretty decently for my drill press. - It is a simple VFD with few settings to worry about but still has the basic features needed. - Far less expensive than big name VFDs. THE BAD: - It is not safe for facemounting without a box/enclosure. This was a big deal for me. I was working with 10 AWG SOOW and my older unit (a Delta) was set up to accomodate with appropriate cable clamps meeting code so the individual conductors were enclosed at all points where the outer jacket was stripped. In order to safely fixt this problem, I had to mount the VFD inside of a UL listed electrical enclosure. - The wire terminals were too small for the appropriately sized conductors. Could I get #10 wire in place? Yes, but it was a job. The terminals have a wire clamp similar to what might be found on a NEMA plug, but it was VERY difficult to get the wire into the clamp without a terminal end. As others noted, the terminals are not big enough to accomdate a forkl terminal much less a ring. I ended up stripping the jacket and soldering the tightlest twisted conductors so no loose strands would create an opportunity for arc or short. THE UGLY: - I remain apprehensive given the comments others have made about the unit failing soon after installation. Only time will tell but it would be nice to have a little confidence in the product.
M**S
What's up with the pontentiometer and the brake time?
Like the title suggets?, What am i missiin here: 1. I turn on the device for the first time and i do a factory reset so i can configure all from scratch. Since is the first time i turn on the device i can test everything, the potentiometer is the default one to be used. BUT after i turn off the device and later plug it in again, the pontentiometer max is 19 hz, no matter what parameters i configure, i'm on america so 60 hz in my case. I have to increase / decrease the hz using the buttons and i can go from zero to 60 hz and viceversa without problem, but when it comes to the pontetiometer i cant go further than 20 hz. ALSOOOOOOOOOO, the second unit i bought happened the same think. The first time i turn it on i can use the pontentiometer fully with no issues, the problem starts when i cut the power and later turn it back on again, and same thing, it doesnt go more than 20 hz. DEFINETIVELY the deveces is doing something its not suppose to do. 2. Both devices too, the brake time, it is by default 2.5 seconds, and i reduce to use example 1 second, it doesnt do anything, i configure the parameter to use the brake time and later configure the time of the brake, its always the same 2.5 s, and yes, im using the brake stop mode on P12 with the value of 2. If i use the Intertial stop it works, if i use the inertial stop i suppose it works because it stops at 2.5 seconds, and if i use the Emergency brake, it stops right away, fully stop. But if i want to use the BRake stop so i can configure how much time i want to stop from fully speed to 1 second it doesnt do any change, its on 2.5 s default. What am i missing here.?
J**E
Easy set up and great features
I bought this to run a 2x72 belt grinder with a 2 horse power motor. It was easy to program and wire. It also came with a forward and reverse. After a couple of weeks of almost daily use, I'm very pleased so far.
D**M
This model may be faulty.
Yesterday, the day after receiving the XCFDP VFD, I was on the phone with technical assistance for close to an hour trying to get the device properly set up. TA was great but in the process, they revealed that this model of VFD was undoubtedly faulty because other customers had experienced the exact same problem I was experiencing. That is, we reached a point in the set up process where the device would not allow us to complete the set up. I will be returning this VFD but I won’t be replacing it with the same model if, as the technician revealed, they are all faulty and it wasn’t simply a case where mine was faulty.
F**R
It works like a charm.
I was all but given an old Powermatic 5hp Model 66 table saw. It was in good shape, other than having sat for 5 years. It is wired for three phase 220v/460v, which is why i got it for $300. I knew about these things, though, so i jumped at the opportunity. I'd read about VFDs, but this the first time i've used one. I ordered the one specified for 5-6hp, i read the instructions twice, watched the youtube vids, and wired it up. I wasn't 100% sure of the wiring, but it was easy. Incoming 1PH 220v ground is the first connection, then the two incoming 220v hots, then the three motor wires black, red, black, L to R. In short, L to R, 1st post two x green(grounds), 2nd 220v in, 3rd 220v in(colors don't mater here), 4th black motor wire, 5th red motor wire, 6th white motor wire. I can now run the saw from the vfd, adjusting most anything. Whisper quiet! Amazing power through 3" thick Bubinga, i can feed it at any speed. This product has changed the way i see machinery. Three phase is an opportunity, now.
Trustpilot
2 months ago
1 month ago