Description
⚡ Upgrade your Ender 3 to smart, silent, and cool — because your prints deserve the best!
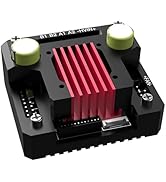
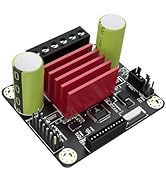
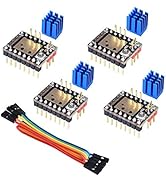
- NEXT LEVEL HEAT MANAGEMENT - Enhanced heat sinks dramatically improve driver cooling, extending component life and ensuring consistent print quality under heavy loads.
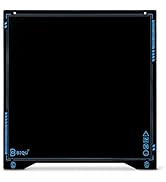
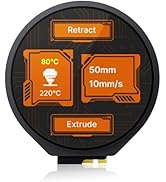
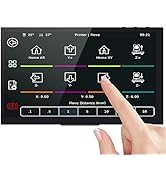
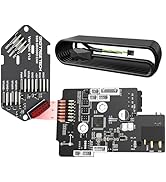
- DUAL MODE TOUCHSCREEN CONTROL - The TFT35-E3 V3.0.1 offers intuitive touch control with UART serial and 12864 modes, supporting SD card and USB printing for ultimate convenience.
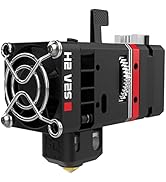
- ULTRA QUIET PRECISION COOLING - Triple CNC fans keep your Ender 3 running cool and whisper-quiet, so your prints stay flawless and your workspace peaceful.
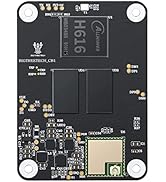
- SMART POWER SUPPLY INTEGRATION - Flexible SPI output ports with selectable +3.3V and +5V power options let you seamlessly power additional peripherals without extra adapters.
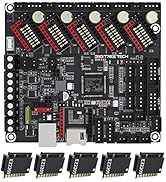
- PLUG AND PLAY UPGRADE FOR ENDER 3 SERIES - Designed as a direct replacement for Creality V4.2.2 boards, this combo fits perfectly and transforms your printer into a smart, silent powerhouse.
The BIGTREETECH SKR Mini E3 V3.0 control board paired with the TFT35 E3 V3.0.1 touchscreen is a premium upgrade for Ender 3, Ender 3 Pro, and Ender 3 V2 printers. Featuring triple CNC fans and redesigned heat sinks, it ensures superior heat dissipation and quieter operation. The advanced SPI output supports flexible peripheral power options, while the dual-mode touchscreen enhances user experience with versatile printing controls. This plug-and-play combo is engineered for seamless installation, delivering professional-grade performance and reliability.