Description
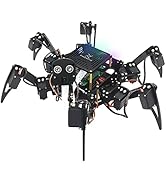
🐾 Own the future of robotics — build, code, and control your very own smart robot dog!
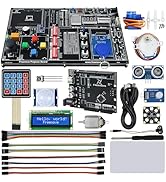
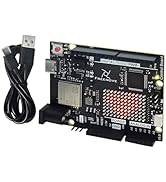
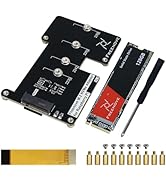
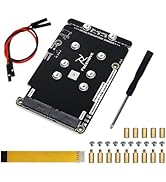
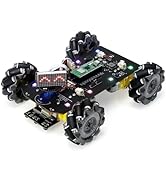
- MODULAR UPGRADEABLE - Compatible with Raspberry Pi 5/4B/3B+ and more, letting you customize and expand your robotic companion’s capabilities.
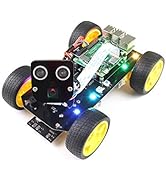
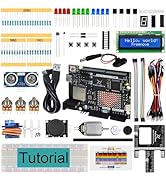
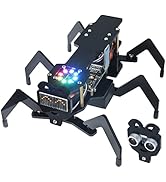
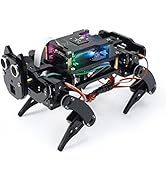
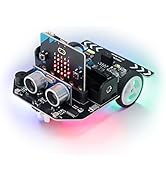
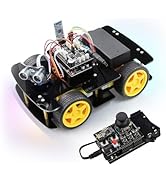
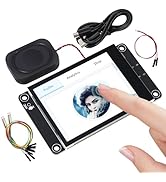
- SMART VISION SENSING - Integrated rotatable camera and ultrasonic sensor enable face recognition and obstacle detection for next-level interaction.
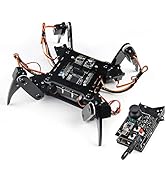
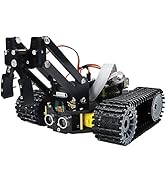
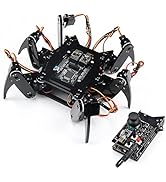
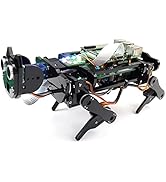
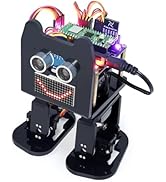
- DYNAMIC QUADRUPED MOBILITY - Experience smooth, realistic walking with 12 precision servo motors powering each leg and head.
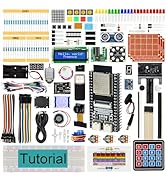
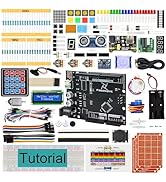
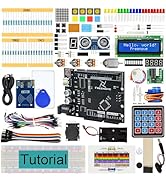
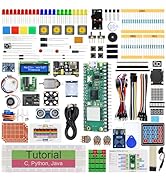
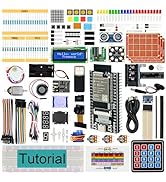
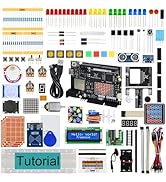
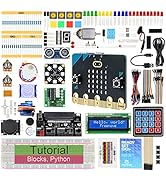
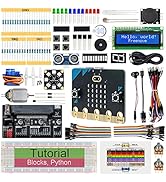
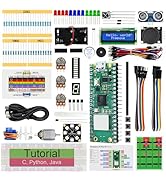
- COMPREHENSIVE DIY LEARNING KIT - Step-by-step Python coding tutorials and assembly guides empower you to master robotics and programming hands-on.
- CROSS PLATFORM WIRELESS CONTROL - Seamlessly command your robot dog via Android, iOS, Windows, macOS, or Raspberry Pi OS with the intuitive Freenove app.
The FREENOVE Robot Dog Kit is a sophisticated DIY robotics project featuring 12 servo motors for agile walking, a rotatable camera with ultrasonic ranging for face recognition and obstacle avoidance, and wireless control via a dedicated app compatible with Android, iOS, Windows, macOS, and Raspberry Pi OS. Designed for Raspberry Pi models 5, 4B, 3B+, and others (not included), it offers detailed Python tutorials for programming enthusiasts eager to dive into robotics. This kit combines hands-on assembly with advanced tech features, making it a perfect challenge for millennial professionals seeking to upskill while enjoying a futuristic, interactive pet.