


Buy anything from 5,000+ international stores. One checkout price. No surprise fees. Join 2M+ shoppers on Desertcart.
Desertcart purchases this item on your behalf and handles shipping, customs, and support to Indonesia.
๐ ๏ธ Fix fast, save smart โ keep your water safe and flowing!
The Zurn Wilkins RK1-720A Repair Kit is a comprehensive, certified solution designed for quick and cost-effective maintenance of 1/2โ, 3/4โ, and 1โ Model 720A Pressure Vacuum Breakers. It includes all necessary parts to ensure long-lasting protection against water contamination, backed by a 1-year warranty and trusted industry certifications.


| ASIN | B003YK2CVI |
| Best Sellers Rank | #29,809 in Automotive ( See Top 100 in Automotive ) #5,706 in Automotive Tools & Equipment |
| Brand | Zurn |
| Brand Name | Zurn |
| Connector Type | Compression |
| Customer Reviews | 4.6 out of 5 stars 770 Reviews |
| Exterior Finish | Plastic, Rubber, Steel |
| Global Trade Identification Number | 00612052090566 |
| Included Components | Product & Instructions Guide |
| Inlet Connection Size | 1 Inches |
| Inlet Connection Type | Press |
| Item Dimensions | 3 x 3 x 1 inches |
| Item Type Name | RK1-720A |
| Item dimensions L x W x H | 3 x 3 x 1 inches |
| Manufacturer | Zurn Industries |
| Manufacturer Part Number | RK1-720A |
| Material | Material, Plastic, Rubber , Steel |
| Material Type | Material,Plastic,Rubber,Steel |
| Model Number | RK1-720A |
| Number of Ports | 3 |
| Size | 1 Inch |
| Specification Met | ASSE Listed 1020 and CSA Certified |
| Thread Size | 1 Inch |
| UPC | 786714987386 612052090566 784497603271 741187421485 735090074470 |
| Unit Count | 1.0 Count |
| Valve Type | pressure vacuum breaker |
R**A
Dead easy repair kit, has everything you need.
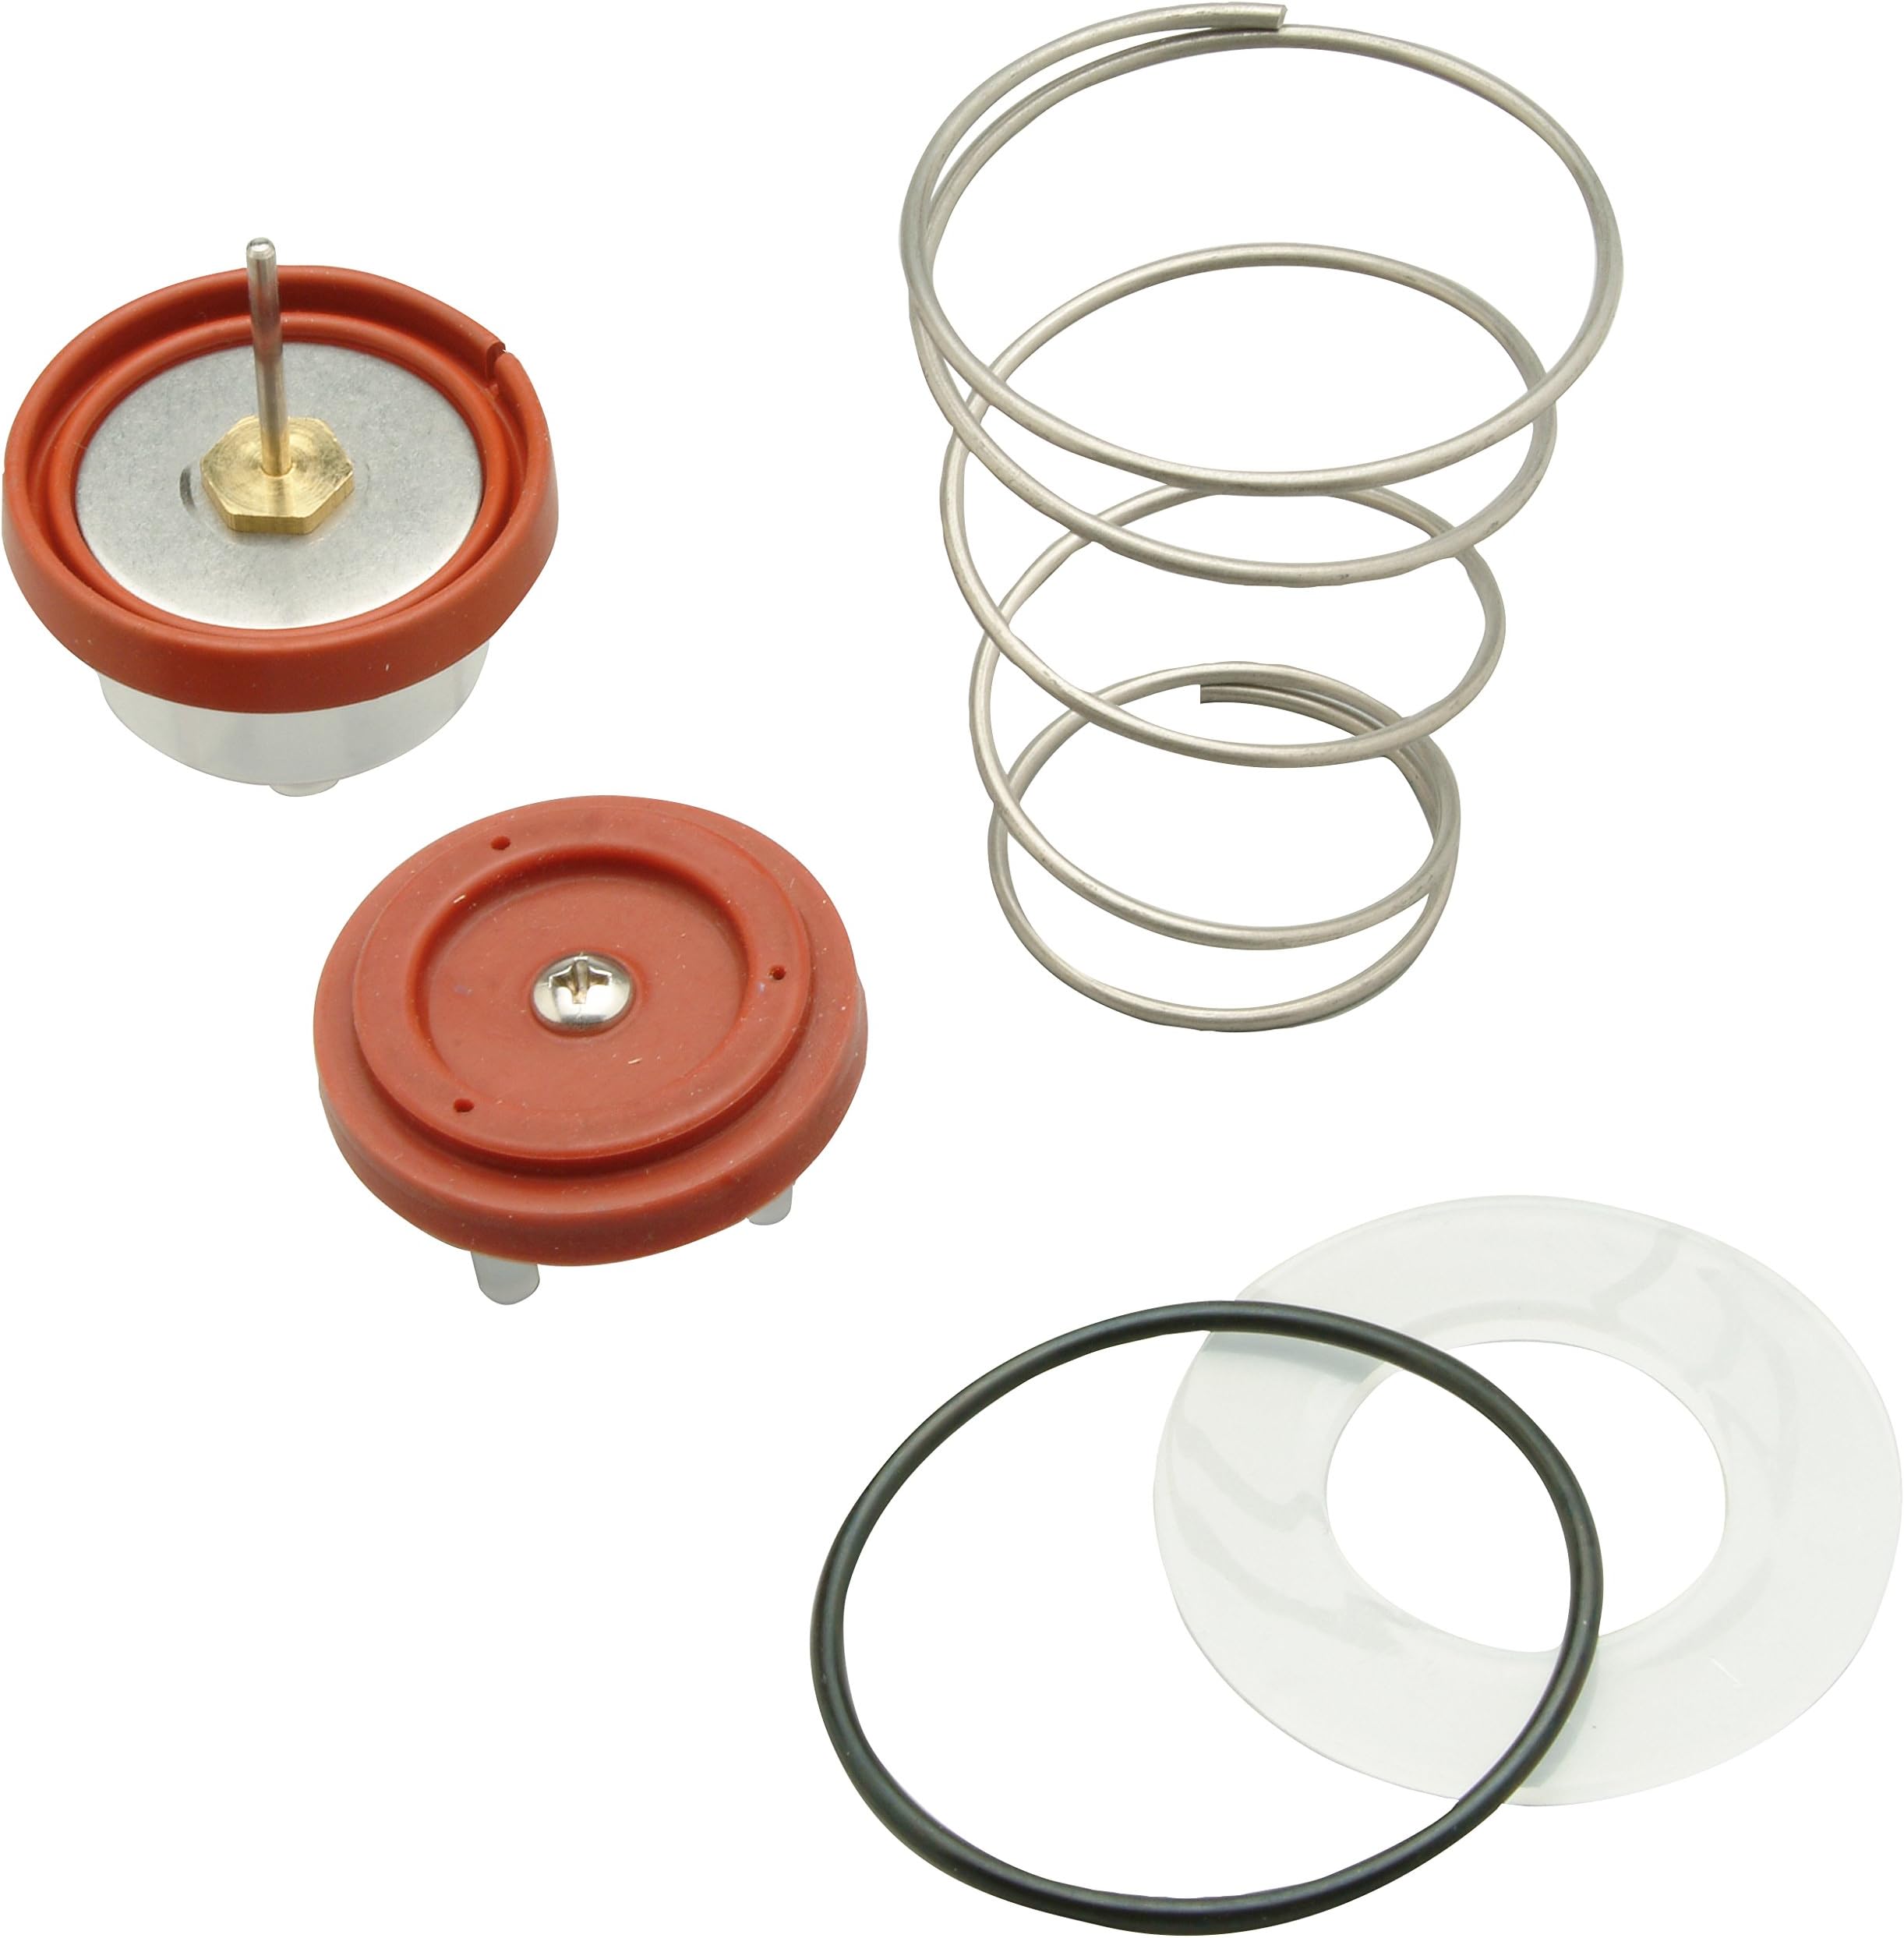
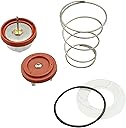
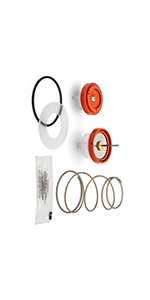
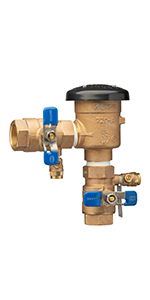
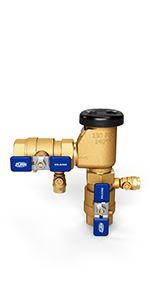
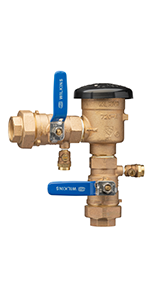
My valve started leaking a year ago and I assumed I would have to replace the entire installation. I ended up finding this repair kit on Amazon almost by mistake while searching for the model number of my backflow preventer (Wilkins 720-A). Lots of good tips in these comments about installation and I'll try and capture them here for anyone reading this: 1. I did not use the lubricating jelly at all... I have no idea what it was suppose to go on, but my valve works fine so that's good. 2. After you take your plastic cap off, you might do what I did and stare at the valve and think: "This looks like a solid brass housing... how the hell do I get IN there?" - the brass top you are staring with the 3 screw pillars that the plastic top sits on... actually UNSCREWS out of the top of the valve housing. A super easy way to do it (that I got from these comments) is to take the screw driver you just used to remove those 3 top screws, law it sideways/between/across 2 of the pillars and use that leverage to unscrew that top. It comes right out. 3. The O-ring you need to replace is potentially smashed down into the channel around the inner lip of the brass housing right after you remove the top from Step #2... if you just removed the top, look around the inner lip of that brass housing, right under the threaded outside rim... you'll see it. You might need to dig it out with a little metal pick or something - mine was smashed into place and I had to dig at it before I tore part of it out then I could pull the rest out easy. 4. The spring was the only thing that gave me pause for a minute. It goes down into the valve, small/tapered side first and the big/open side actually pops down inside the top lip of the housing. To get it out, you basically need to contract the open end a bit so it clears that top lip then you can pull it out. I found the end of the sprint under the top lip, used a screw driver to sort of pop it out from under that lip and start to drag it out the top of the housing and as soon as I got a few inches of it past that little lip, POP, the rest of it came right out, no problem. Putting the new one in was basically... "just smash it all down through the hole past that lip and once it was in there, use the screw driver to straight out any coil overlap so the spring sat naturally". Hope that helps!
D**N
More expensive than aftermarket but worth the money for the peace of mind.
One morning the water pressure in my home was abysmal. I had a look around the property - this valve was leaking at my yard hose. Excellent replacement parts, happy I spent the extra money on OEM. No muss no fuss.
B**G
Factory rebuild kit. Easy install to restore water system protection
OEM rebuild/repair kit. Cost a little more than some alternatives that may work fine but I have only one valve at my home for my irrigation system that worked great for decades. When it failed, I opted to go with factory. The rebuild was quick and easy and it has been working like new again.
A**W
Worked perfectly
Perfect fit, came with all the necessary components to do a complete replacement. Everything fit perfectly in a wind well right down to the screw holes and new screws. Took about 10 minutes to swap everything out.
K**T
Good Product, Needs Clearer Instructions
Rebuild kit worked as planned, I found the installation and test instructions a bit cumbersome. In the end I discarded them and simply reassembled the unit and turned on the water. The unit didn't seal well and I found the O-Ring to be very sensitive to the amount of torque applied when tightening the housing. Too tight and the O-ring came out of it's seat causing the unit to leak, too loose and it would'nt seal, again, causing it to leak. Works good now, no problems.
D**J
Pricey for what you get but still cheaper than replacing the entire valve.
My pressure breaker valve started to leak & I remembered there was a rebuild kit available for it. Checking various sites including the local Sprinkler World led me to Amazon because they had the lowest price. The kit comes with a sheet of paper for installation / maintenance / testing of the valve, but not for the rebuild kit. It did however provide an exploded view of all the parts that make up the valve and with the exception of the canopy & screws everything was included in the rebuild kit. Here's a summary of the steps I took: 1) Shut power off to the valve (if you haven't done this already) 2) remove the 3 screws from the canopy and set aside 3) remove the canopy 4) unscrew the brass bonnet (should only need your fingers but if its stubborn, channel locks will help to persuade it) 5) remove the Disc & Poppet Assembly (all one piece) 6) remove the washer 7) The O-Ring sits in a channel. I used an X-ACTO knife to pry the old O-Ring off 8) Remove the Spring (the O-Ring Seat prevents it from coming up so I had to compress and turn it to free it) 9) Remove the Spider Assembly 10) Use a cloth to wick up any water and inspect the valve for any damage Now it's time to install the parts from the rebuild kit: 1) Install the Spider Valve 2) Install the Spring (I had to turn and compress it at the large end to get it to fully seat under the O-ring channel) 3) Cut the O-Ring lubricant and squeeze it out completely onto your fingers and rub the O-ring all over it being very liberal with the grease 4) Install the O-Ring into it's channel 5) Insert the Dis & Poppet Assembly 6) I had extra grease so I lubed the underside of the big plastic washer that sits on the O-Ring 7) Install the plastic washer (greasy side on top of the O-Ring) 8) Thread the bonnet and make sure the shaft of the disc & poppet assembly is in the center of the bonnet 9) Hand tighten the bonnet 10) Install the Canopy and the 3 screws. Tighten all 3 once all are in place Turn the water back on. It's okay for a little water to ooze out of the breaker valve initially, wipe it from the surrounding pipes and monitor the valve. In my case I ran a 5-minute cycle of one of the sprinkler lines making sure the valve did not leak. The whole procedure can be done in 15-20 minutes (if that)
D**I
From chatter to silk
Just installed this repair kit today to see if it would solve a chattering issue with my vacuum breaker valve. Well the install was great and I saw a small tear in my old spider disk. Well the difference is dramatic. Every one of my 11 zones runs as smooth as silk. Worth every penny.
K**R
Quality parts fixed my problem
Pricey but fixed my problem. Fit like it should and got me up and running again.
Trustpilot
2 weeks ago
2 weeks ago