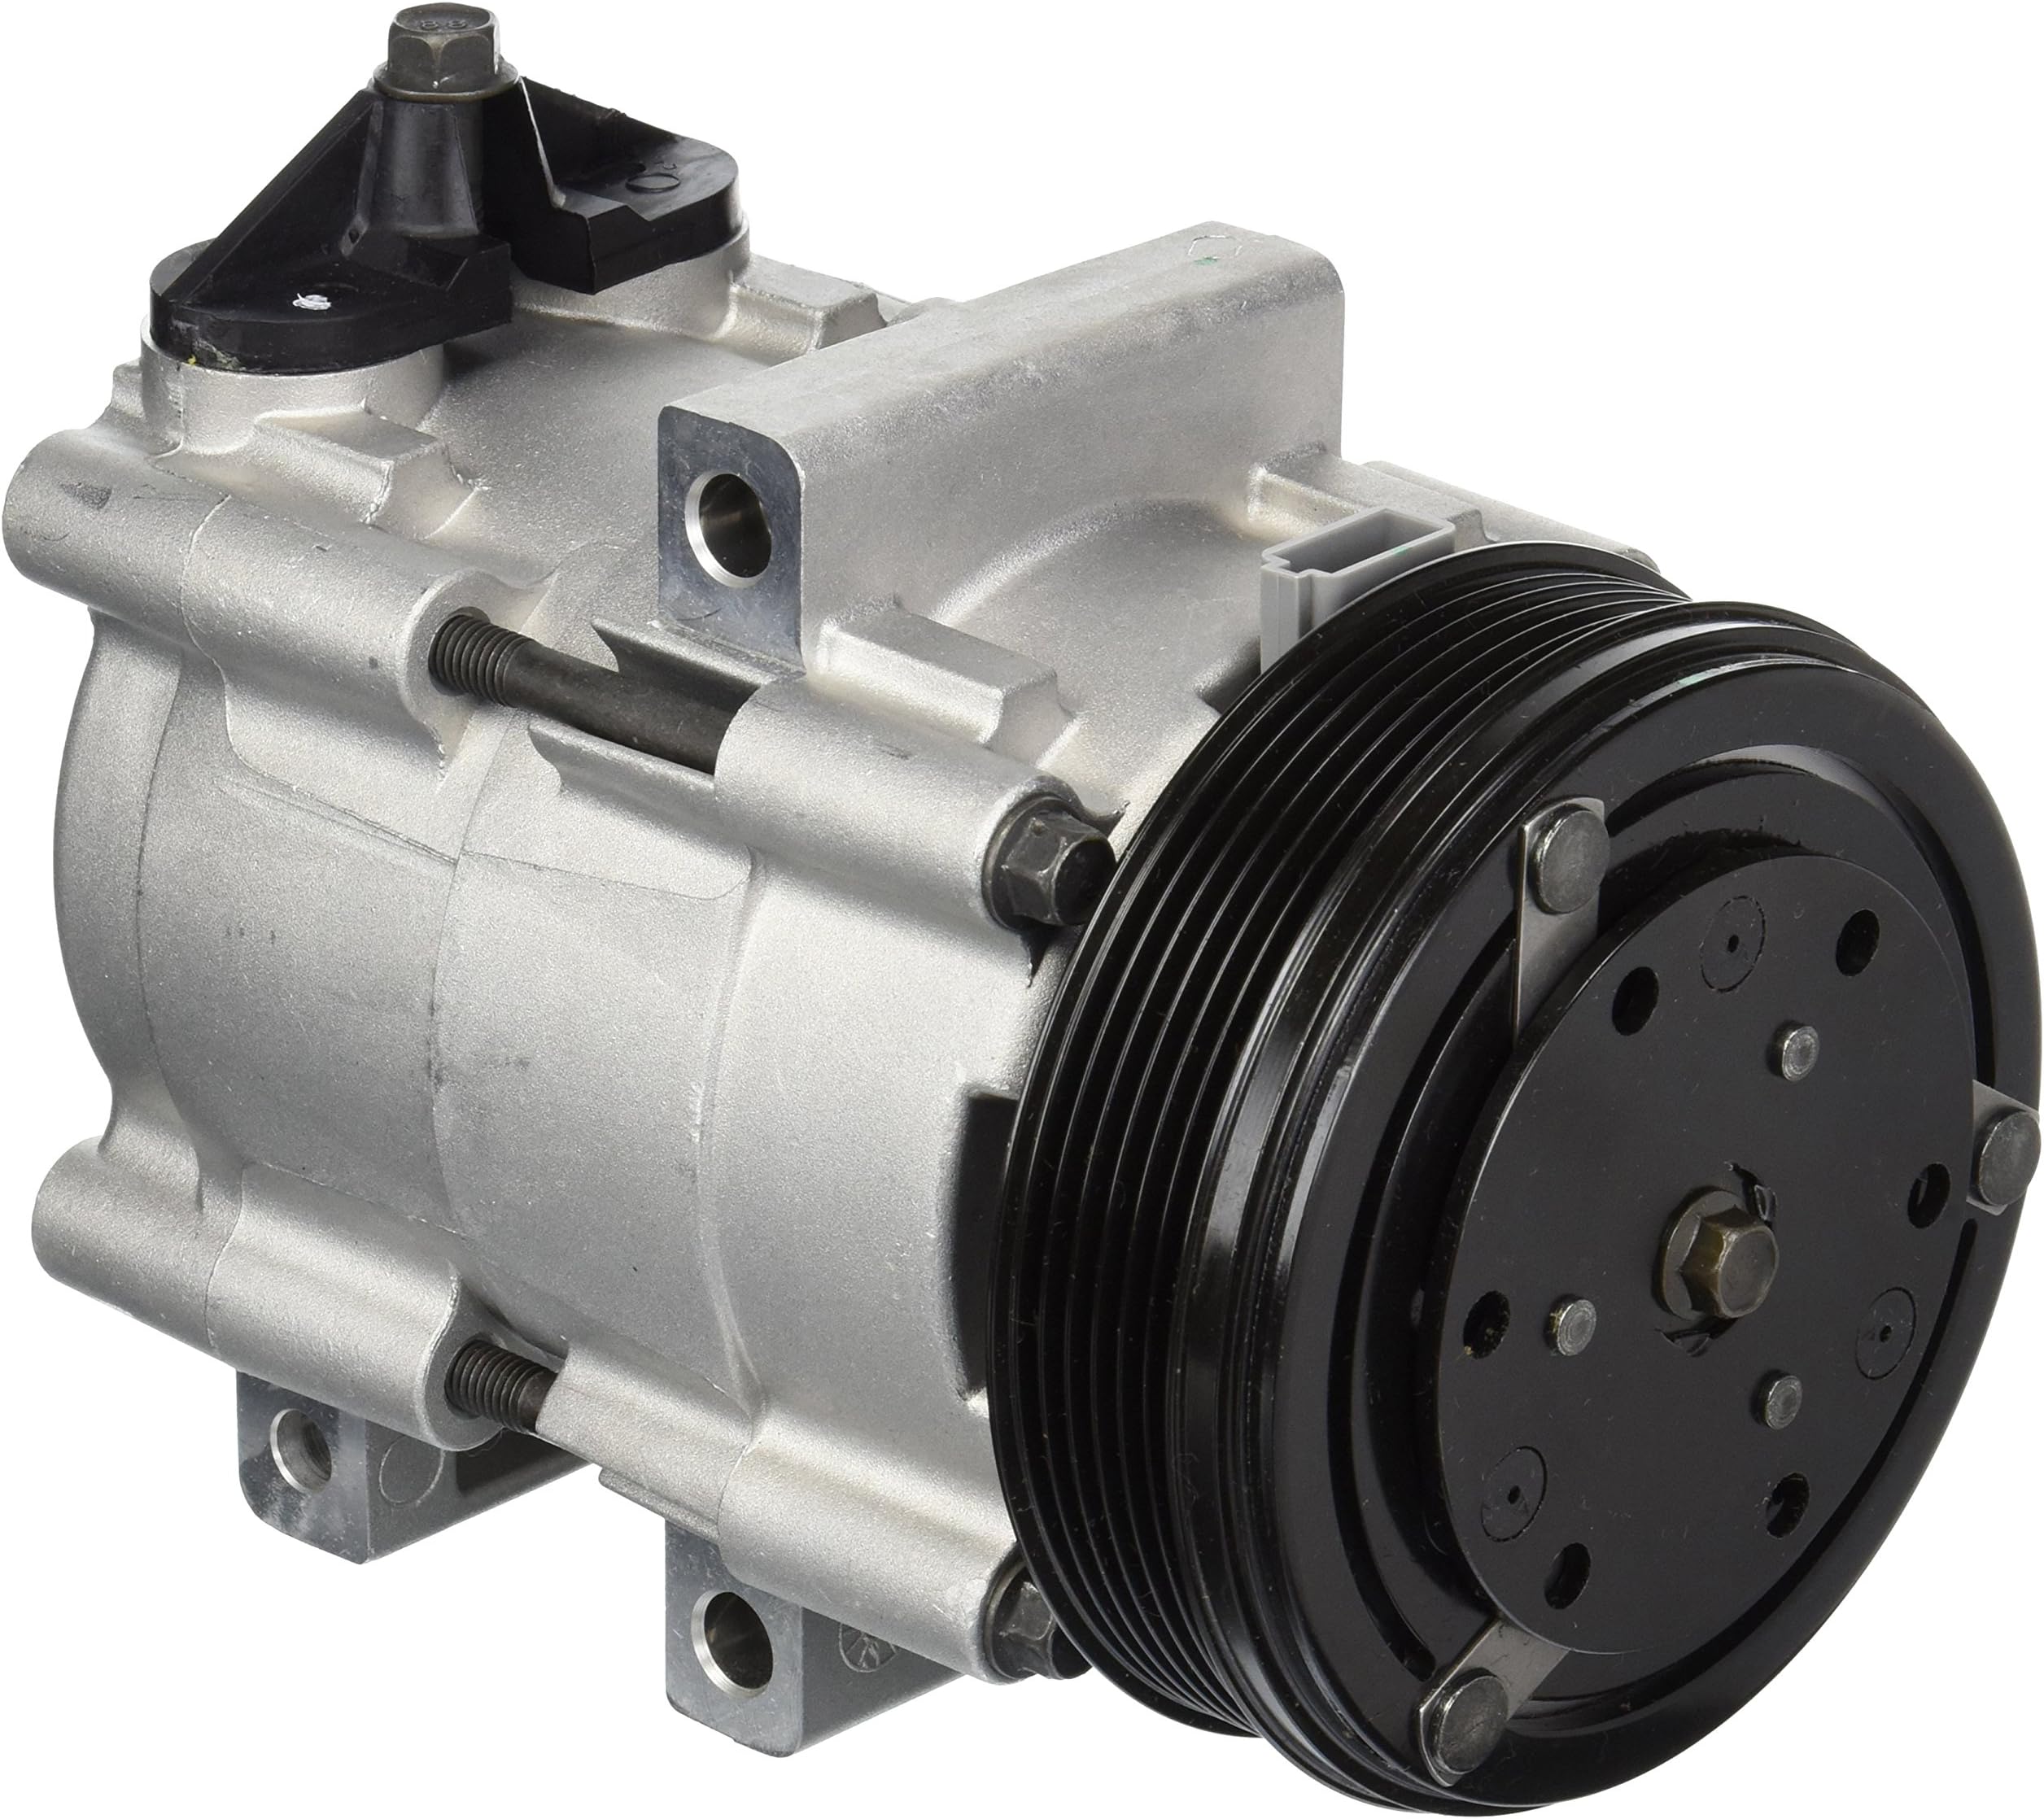

Denso NEW COMPRESSOR W/CLUTCH - 471-8144
Product ID: 73796517
Buy anything from 5,000+ international stores. One checkout price. No surprise fees. Join 2M+ shoppers on Desertcart.
Desertcart purchases this item on your behalf and handles shipping, customs, and support to Indonesia.
Denso NEW COMPRESSOR W/ CLUTCH - 471-8144 Review: Works perfectly - Removing the Compressor for a 2003 Ford F150 is a convoluted, grease-infused journey under the truck. It's filled with bloody knuckles, cramped shoulders and finding the perfect angle and lighting to remove the beast from its den. Once removed, one can celebrate the joy of half a job well done! Fortunately, the Denso 471-8144 is a perfect fit, pre-filled with the exact amount of oil required, and, thanks to a few YouTube videos, easy to reinstall. Everything seals well and I am ready for summer once again! Review: Always drain page oil from compressor - All In All, Denso compressors are a very good replacement AC compressor's, and as always, if you are replacing a compressor it is beyond wise to replace the other components, with new also (accumulator/dryer, condenser, orifice tube or expansion valve, and evaporator if possible, if you cannot replace your evaporator coil feasibly, try to at least access it through the blower fan hole, to see if you can possibly clear it of any old debris that could be stuck in the fins, and around the edges, with a bristle brush and air but very carefully as not to damage the fins. Obviously, If you're evaporator coil is leaking freon, then you must replace it regardless. All hoses must be clean in good condition or replaced.) Be aware, there are some discrepancies in the information given on the Denso website about how much oil is shipped in the new Denso compressor's. The Denso Compressor video on there website, states that "all compressors are shipped with the correct amount of charge oil for your system". This may or may not be correct information. For example, the compressor I ordered for my F250, was the # 471-8144 compressor. That compressor is shipped wet, with 1.5 oz of pag 46 oil, according to the Denso compressor list. My system, per my AC label on my vehicle, calls for 9 oz. of pag 46 oil and 42 oz. of freon, so the new compressor was not filled with the capacity for my system. I drained the new compressor, and found that there was just a very small amount of oil in the compressor, around 1oz. I assume that the oil charge in the compressor when shipped, is for initial lubrication and treatment of the inside working parts of the compressor only, as the compressor is pressurized and sealed for shipment. Had I install that compressor thinking that it was charged with a correct amount of oil for my system, the compressor would have burned up from lack of lubrication in the system. Not good Denso! So you should always drain a new compressor, that way you know that you're starting with as close to a zero sum of oil in the compressor as possible, and then you would add your new oil charge, per your system specs, back into your new components, preferably some in the new compressor, and some in the new dryer Etc., up to but not exceeding the correct amount and type of Pag oil for your AC system, per your vehicle AC specs. After installation of your new compressor and other new components, with a portion of your oil charge inside your compressor, and all hoses and connections are made with new o-rings, connect your vacuum pump and vacuum down your system for at least one hour, a little longer the better, (if it is possible, I prefer to vacuum down a system and leave it sealed under vacuum overnight, in the morning, if gauges are still holding good, I would turn on the vacuum pump for an additional 10 to 15 minutes, then disconnect and start my freon charge., I prefer early in the morning when it's cooler. Before charging, you should always rotate your new compressor by hand, in its operating Direction, at least 10-20 rotations, to ensure that the compressor is lubricated and the excess oil is pushed into the lines to mix with the freon during freon recharge. I always charge the system, still under vacuum, with a portion of the freon before I start the engine, this ensures the compressor will run and stop when low side pressure goes down, this also is testing the low pressure switch for proper operation. Then, I set idle at 1200 to 1500 rpm and finish the freon charge, up to but not exceeding, the spec amount, and watch gauge pressures for proper readings. It is important not to overcharge pag oil or freon in your AC system, Remember that Air and Moisture are AC's biggest enemy's. A clean properly installed system should work flawless. Always use decent clean properly functioning gauges and hoses. When you switch from vacuum pump to charge freon, always purge the air from your charge line with the Schrader valve at the gauges, ... I hope this is informational and helpful for you DIYers, like me. Cheers, safety first, and good luck!

| ASIN | B000C5YEY6 |
| Additional Features | Portable |
| Best Sellers Rank | #259,238 in Automotive ( See Top 100 in Automotive ) #652 in Automotive Replacement Air Conditioning Compressors #5,221 in Automotive Replacement Air Filters & Accessories |
| Brand | Denso |
| Brand Name | Denso |
| Customer Reviews | 4.4 out of 5 stars 54 Reviews |
| Global Trade Identification Number | 00042511092662 |
| Included Components | NEW COMPRESSOR W/ CLUTCH |
| Item Dimensions L x W x H | 11.3"L x 7.9"W x 7.9"H |
| Item Type Name | New A/C Compressor |
| Item Weight | 0.01 Ounces |
| Manufacturer | Denso |
| Manufacturer Part Number | 471-8144 |
| Maximum Horsepower | 0.2 Horsepower |
| Maximum Power | 0.2 Horsepower |
| Model Name | NEW COMPRESSOR W/ CLUTCH |
| Model Number | 471-8144 |
| Power Source | Corded Electric |
| Recommended Uses For Product | Powering Pneumatic Tools |
| Special Feature | Portable |
| Style | Portable |
| UPC | 042511092662 |
| Unit Count | 1.0 Count |
| Voltage | 120 Volts |
C**N
Works perfectly
Removing the Compressor for a 2003 Ford F150 is a convoluted, grease-infused journey under the truck. It's filled with bloody knuckles, cramped shoulders and finding the perfect angle and lighting to remove the beast from its den. Once removed, one can celebrate the joy of half a job well done! Fortunately, the Denso 471-8144 is a perfect fit, pre-filled with the exact amount of oil required, and, thanks to a few YouTube videos, easy to reinstall. Everything seals well and I am ready for summer once again!
K**E
Always drain page oil from compressor
All In All, Denso compressors are a very good replacement AC compressor's, and as always, if you are replacing a compressor it is beyond wise to replace the other components, with new also (accumulator/dryer, condenser, orifice tube or expansion valve, and evaporator if possible, if you cannot replace your evaporator coil feasibly, try to at least access it through the blower fan hole, to see if you can possibly clear it of any old debris that could be stuck in the fins, and around the edges, with a bristle brush and air but very carefully as not to damage the fins. Obviously, If you're evaporator coil is leaking freon, then you must replace it regardless. All hoses must be clean in good condition or replaced.) Be aware, there are some discrepancies in the information given on the Denso website about how much oil is shipped in the new Denso compressor's. The Denso Compressor video on there website, states that "all compressors are shipped with the correct amount of charge oil for your system". This may or may not be correct information. For example, the compressor I ordered for my F250, was the # 471-8144 compressor. That compressor is shipped wet, with 1.5 oz of pag 46 oil, according to the Denso compressor list. My system, per my AC label on my vehicle, calls for 9 oz. of pag 46 oil and 42 oz. of freon, so the new compressor was not filled with the capacity for my system. I drained the new compressor, and found that there was just a very small amount of oil in the compressor, around 1oz. I assume that the oil charge in the compressor when shipped, is for initial lubrication and treatment of the inside working parts of the compressor only, as the compressor is pressurized and sealed for shipment. Had I install that compressor thinking that it was charged with a correct amount of oil for my system, the compressor would have burned up from lack of lubrication in the system. Not good Denso! So you should always drain a new compressor, that way you know that you're starting with as close to a zero sum of oil in the compressor as possible, and then you would add your new oil charge, per your system specs, back into your new components, preferably some in the new compressor, and some in the new dryer Etc., up to but not exceeding the correct amount and type of Pag oil for your AC system, per your vehicle AC specs. After installation of your new compressor and other new components, with a portion of your oil charge inside your compressor, and all hoses and connections are made with new o-rings, connect your vacuum pump and vacuum down your system for at least one hour, a little longer the better, (if it is possible, I prefer to vacuum down a system and leave it sealed under vacuum overnight, in the morning, if gauges are still holding good, I would turn on the vacuum pump for an additional 10 to 15 minutes, then disconnect and start my freon charge., I prefer early in the morning when it's cooler. Before charging, you should always rotate your new compressor by hand, in its operating Direction, at least 10-20 rotations, to ensure that the compressor is lubricated and the excess oil is pushed into the lines to mix with the freon during freon recharge. I always charge the system, still under vacuum, with a portion of the freon before I start the engine, this ensures the compressor will run and stop when low side pressure goes down, this also is testing the low pressure switch for proper operation. Then, I set idle at 1200 to 1500 rpm and finish the freon charge, up to but not exceeding, the spec amount, and watch gauge pressures for proper readings. It is important not to overcharge pag oil or freon in your AC system, Remember that Air and Moisture are AC's biggest enemy's. A clean properly installed system should work flawless. Always use decent clean properly functioning gauges and hoses. When you switch from vacuum pump to charge freon, always purge the air from your charge line with the Schrader valve at the gauges, ... I hope this is informational and helpful for you DIYers, like me. Cheers, safety first, and good luck!
P**R
2002 Ford F250 v-10 6.8 liter
Installed this on my camping truck 4 months ago and it fit in like the OEM compressor that I removed. My ac blows about 20% less cool than the original one, but for the price it works good enough for me and I live in Phoenix, AZ. Make sure that all your system is cleaned out and free from debris and that you fill it with PAG before you install otherwise you'll be back where you started.
7**R
I got a dud, but waited too long before I installed it.
Waited until it warmed up before I replaced by old unit. Replaced all the hoses, the dryer, and could not get the system to take coolant. Purchased a new one from a local auto store and it took coolant and works like a champ. Lesson is you have a short window to install and if bad send it back. Expensive lesson.
S**Y
works great
Installed, tested and works great
D**S
Fit well, runs quiet.
Matched 100% to OEM compressor that failed (developed a leak around the pump shaft) hoping this compressor gives me another 240k trouble free miles.
K**N
Must have the correct make and model
Fits perfectly, works great
N**A
Quality
Seems to be one of the better quality compressor models.
D**T
Ordered wrong part
I ordered the wrong part so there was nothing wrong with it.
Trustpilot
1 week ago
2 weeks ago