

🔥 Insulate smart, protect smarter — because your space deserves the best!
These Professional High Density Fire Rated Insulation Panels deliver 4m² of coverage per 8-tile pack, combining fire safety, thermal efficiency, and moisture resistance in durable mineral wool. Perfect for millennial managers seeking a sleek, effective upgrade to their workspace or home, these panels are easy to install and engineered to enhance comfort while safeguarding your environment.
| ASIN | B014AE6R4O |
| Batteries Required? | No |
| Batteries included? | No |
| Best Sellers Rank | 168,162 in DIY & Tools ( See Top 100 in DIY & Tools ) 139 in Panel Insulation |
| Coverage | 4 square meters |
| Customer Reviews | 4.9 4.9 out of 5 stars (12) |
| Date First Available | 7 Dec. 2015 |
| Item Package Quantity | 8 |
| Manufacturer | MAV ERFURT |
| Product Dimensions | 100 x 50 x 0.1 cm |
D**N
Surprisingly effective , relatively easy to apply, rooms warm quickly
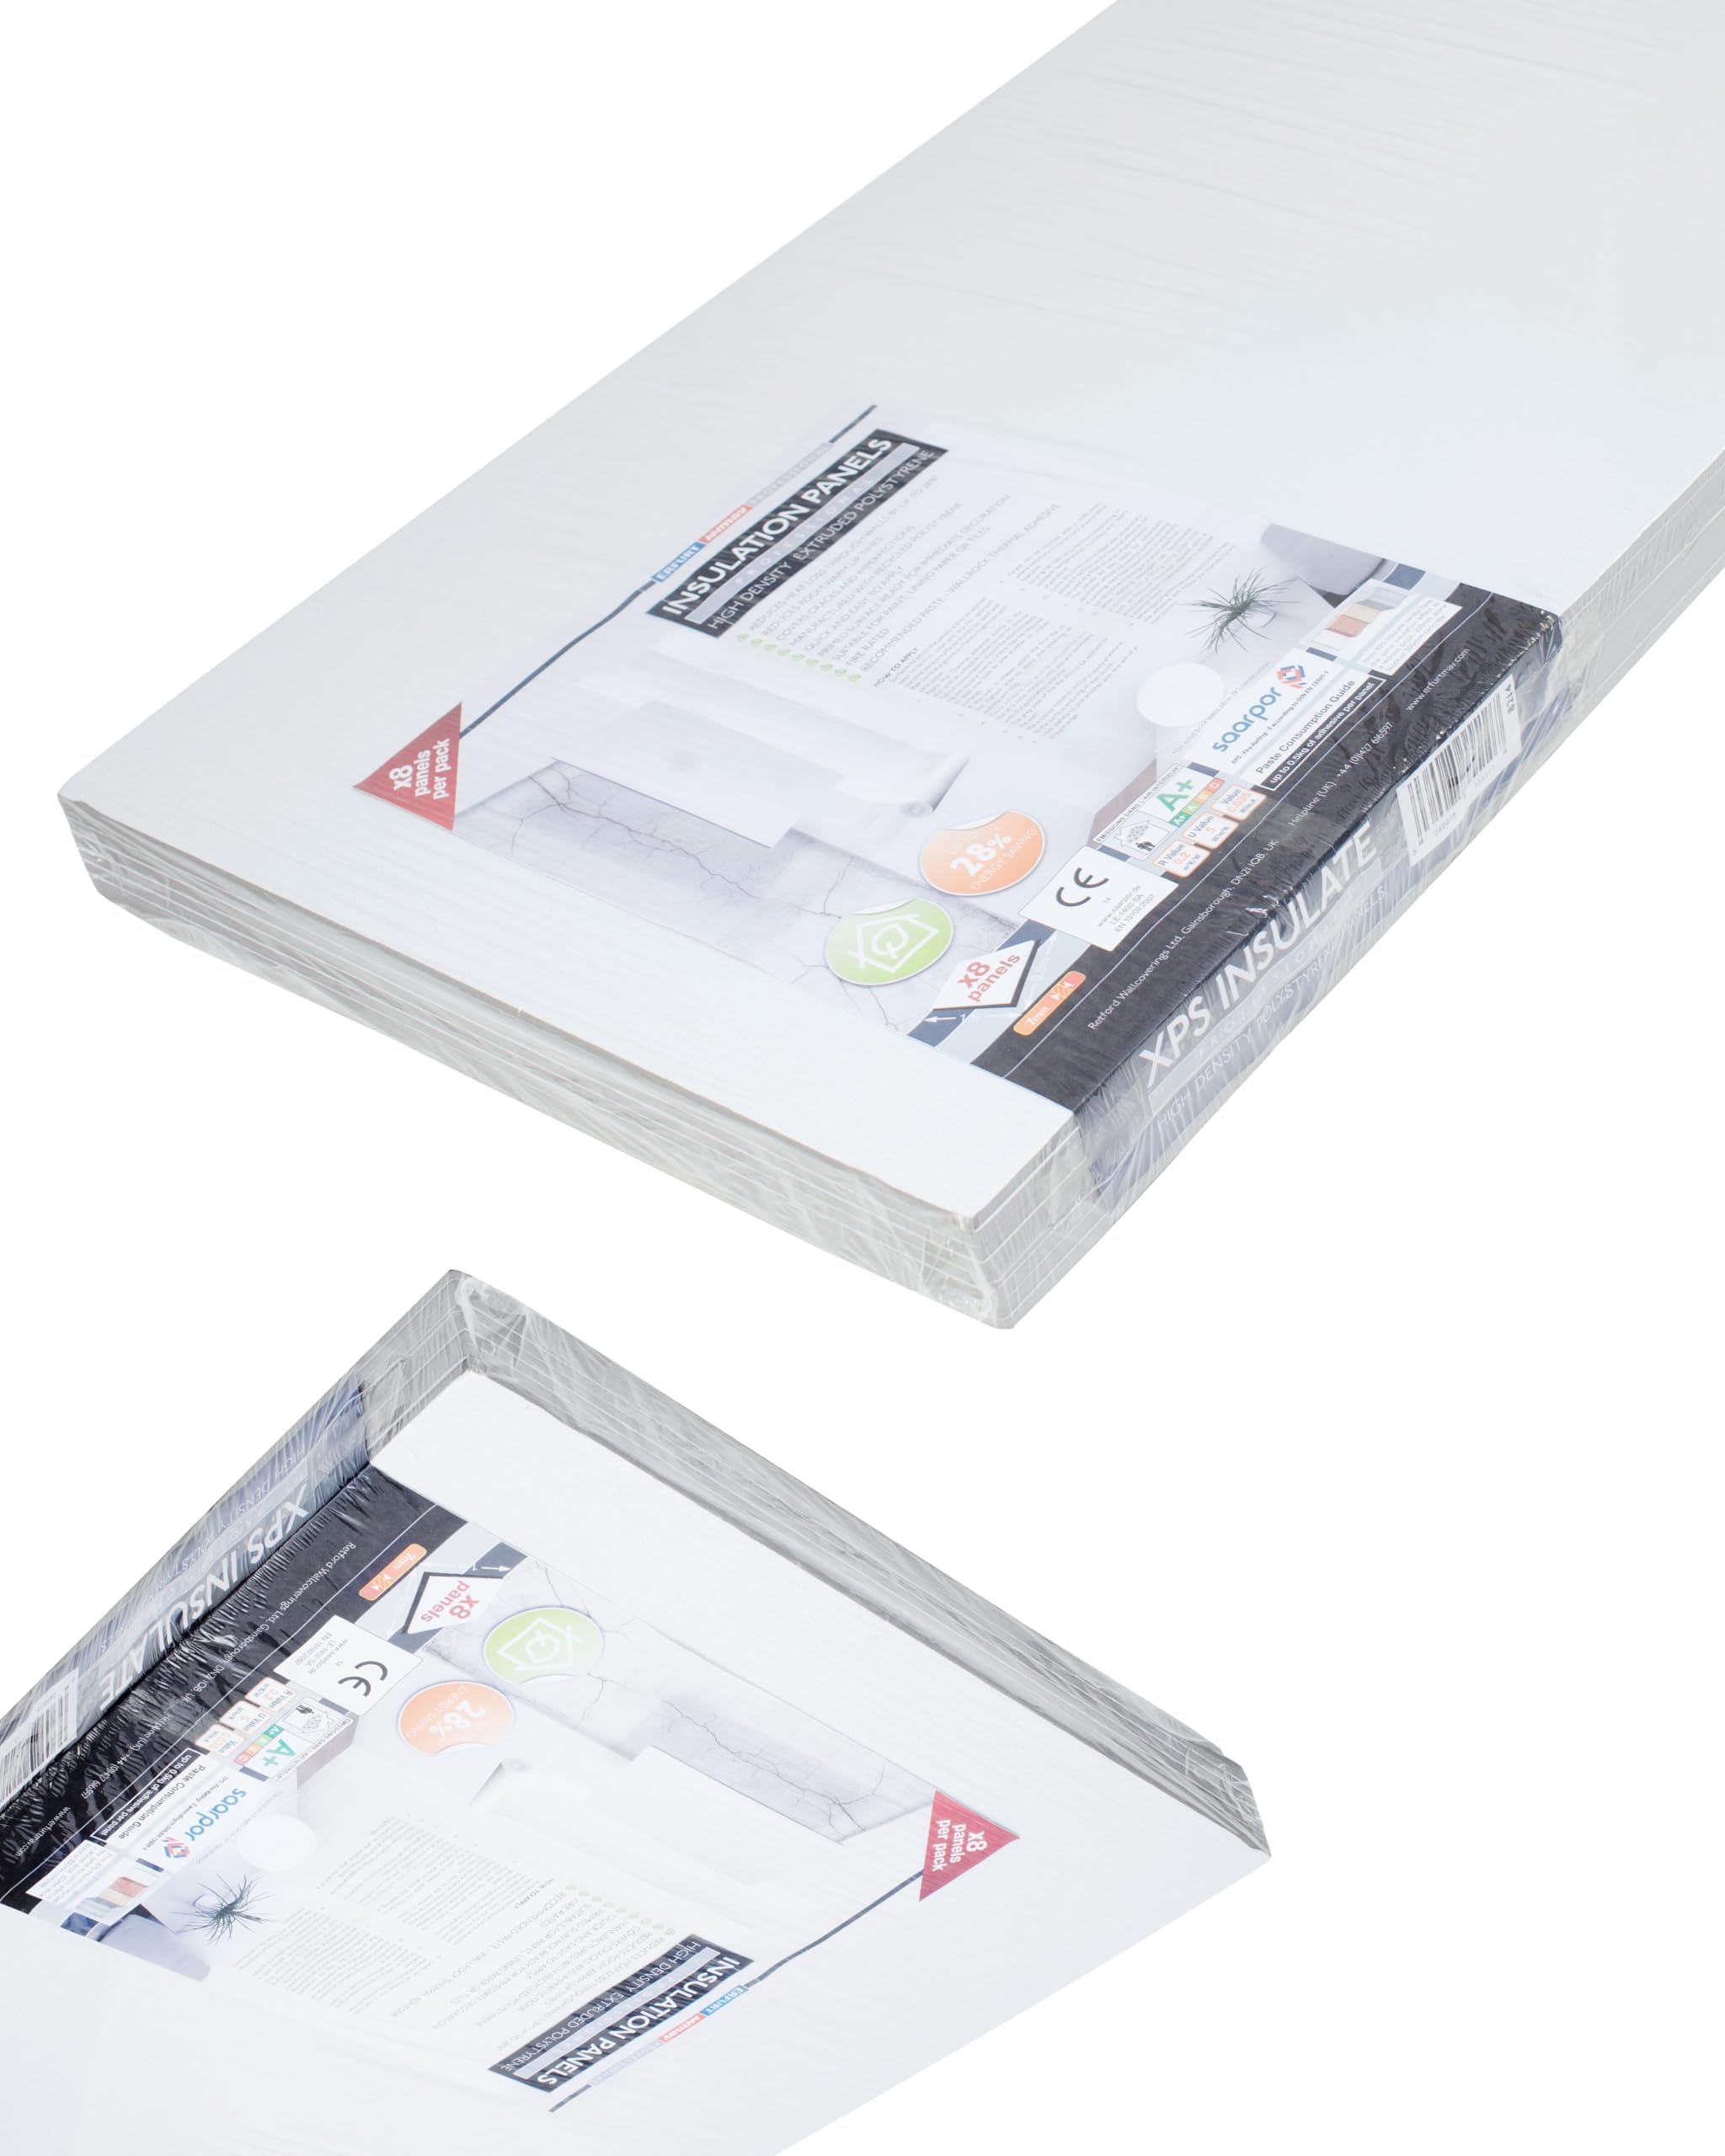
Excellent product for the money , DIY application,rooms warm much faster and stay warmer for longer, really good idea,has reduced condensation and stopped mould. That’s the good bit ,if you have cats you may want to think twice as claws damage this product easily even with 3 coats of tough paint applied,now for the installation details, you will need , a tape measure,a 1 metre straight edge, sharp pencil and sharpener, Stanley knife,new blades for knife, large brush or roller, filler and very important 40 mm socket screws if you are putting behind sockets ( save socket screws to use on light switches)30 amp connector strip and electrical tape- I disconnected sockets , connected cables into a strip, taped them up applied product over socket then cut the hole out afterwards and reconnected using the 40mm screws- I have 35 years of experience with electrics, if you are not competent with electrics you may just want to cut out around the sockets and switches. You will require some sort of packer for such items as TVs -I used a piece of 9mm plywood cut to same size as tv bracket to space it out as the product is 7mm thick, curtain pole brackets I just screwed tightly back compressing the material,pictures I carefully marked the position of screw holes and made a small hole as soon as product applied as once fitted you are unlikely to be able to identify where the existing holes are located. In one room I left the skirting board on in another I removed and put the product behind this as well, obviously the lower points in the room suffer most with cold and damp. If you live in an old house which let’s face it why would you be looking at this for a new house then your walls will not be flat and corners not 90degrees , you have 2 options scrape the corner of wall /wall joins or wall/ ceiling joins or put a small chamfer on rear edge of product before application. You will require some tough paint afterwards, The boards are not perfectly cut especially the corners so filler is a must. Was it worth it ? Absolutely but it’s not a 2 minute job. Hope this rambling helps you make an informed decision, results are excellent until the Siamese and orientals attack
H**4
Very effective to cure cold spot and very easy to install
Eliminated a cold wall in upstairs bedroom by fitting this that suffered from mold. Very easy to cut and fit, wall now feels warmer than other internal walls.
E**A
Wall
Easy to work with ,hope in time does its job
P**S
Just as described and delivered promptly
I fixed these to the ceiling - apply the recommended glue generously for this, otherwise they fall off. They are very easy to cut to shape/size as necessary.
F**Y
Keeps
Not as thick I I wanted but did the job and good price thank you
P**C
Five Stars
Good
S**H
Nice smooth product. Good thickness. More guidance needed.
Just installed this on a window wall + reveals using the recommended wallrock thermal liner adhesive. I also used decorators caulk between all the panels and wall edges to ensure there were no air gaps. If you don't want to see the joins between tiles thick lining paper is needed too. It's a fairly easy job so far (I'm just coming up to the stage where I need to apply lining paper), and the result so far is pretty neat. Prior to applying the lining paper it looks like I'm going to need to sand down any raised edges. Note that this is 7mm XPS polystyrene with primer paint applied to one side, not XPS with paper bonded on as I initially thought. There is no guidance available about what paste to use to apply the lining paper. I'm assuming that as I'm trying to bond to XPS, that the thermal liner adhesive must be used.... As far as thermal effects, it's not "proper" insulation but on this one wall should reduce the U value by about 20-25%. My infrared thermometer shows a clear 2-3 degrees difference in temperature between the coated wall and uncoated, so that should produce a good improvement in percieved warmth for the room.
Trustpilot
1 month ago
1 day ago