Description
🎯 Level up your PS5 controller game with precision and style!
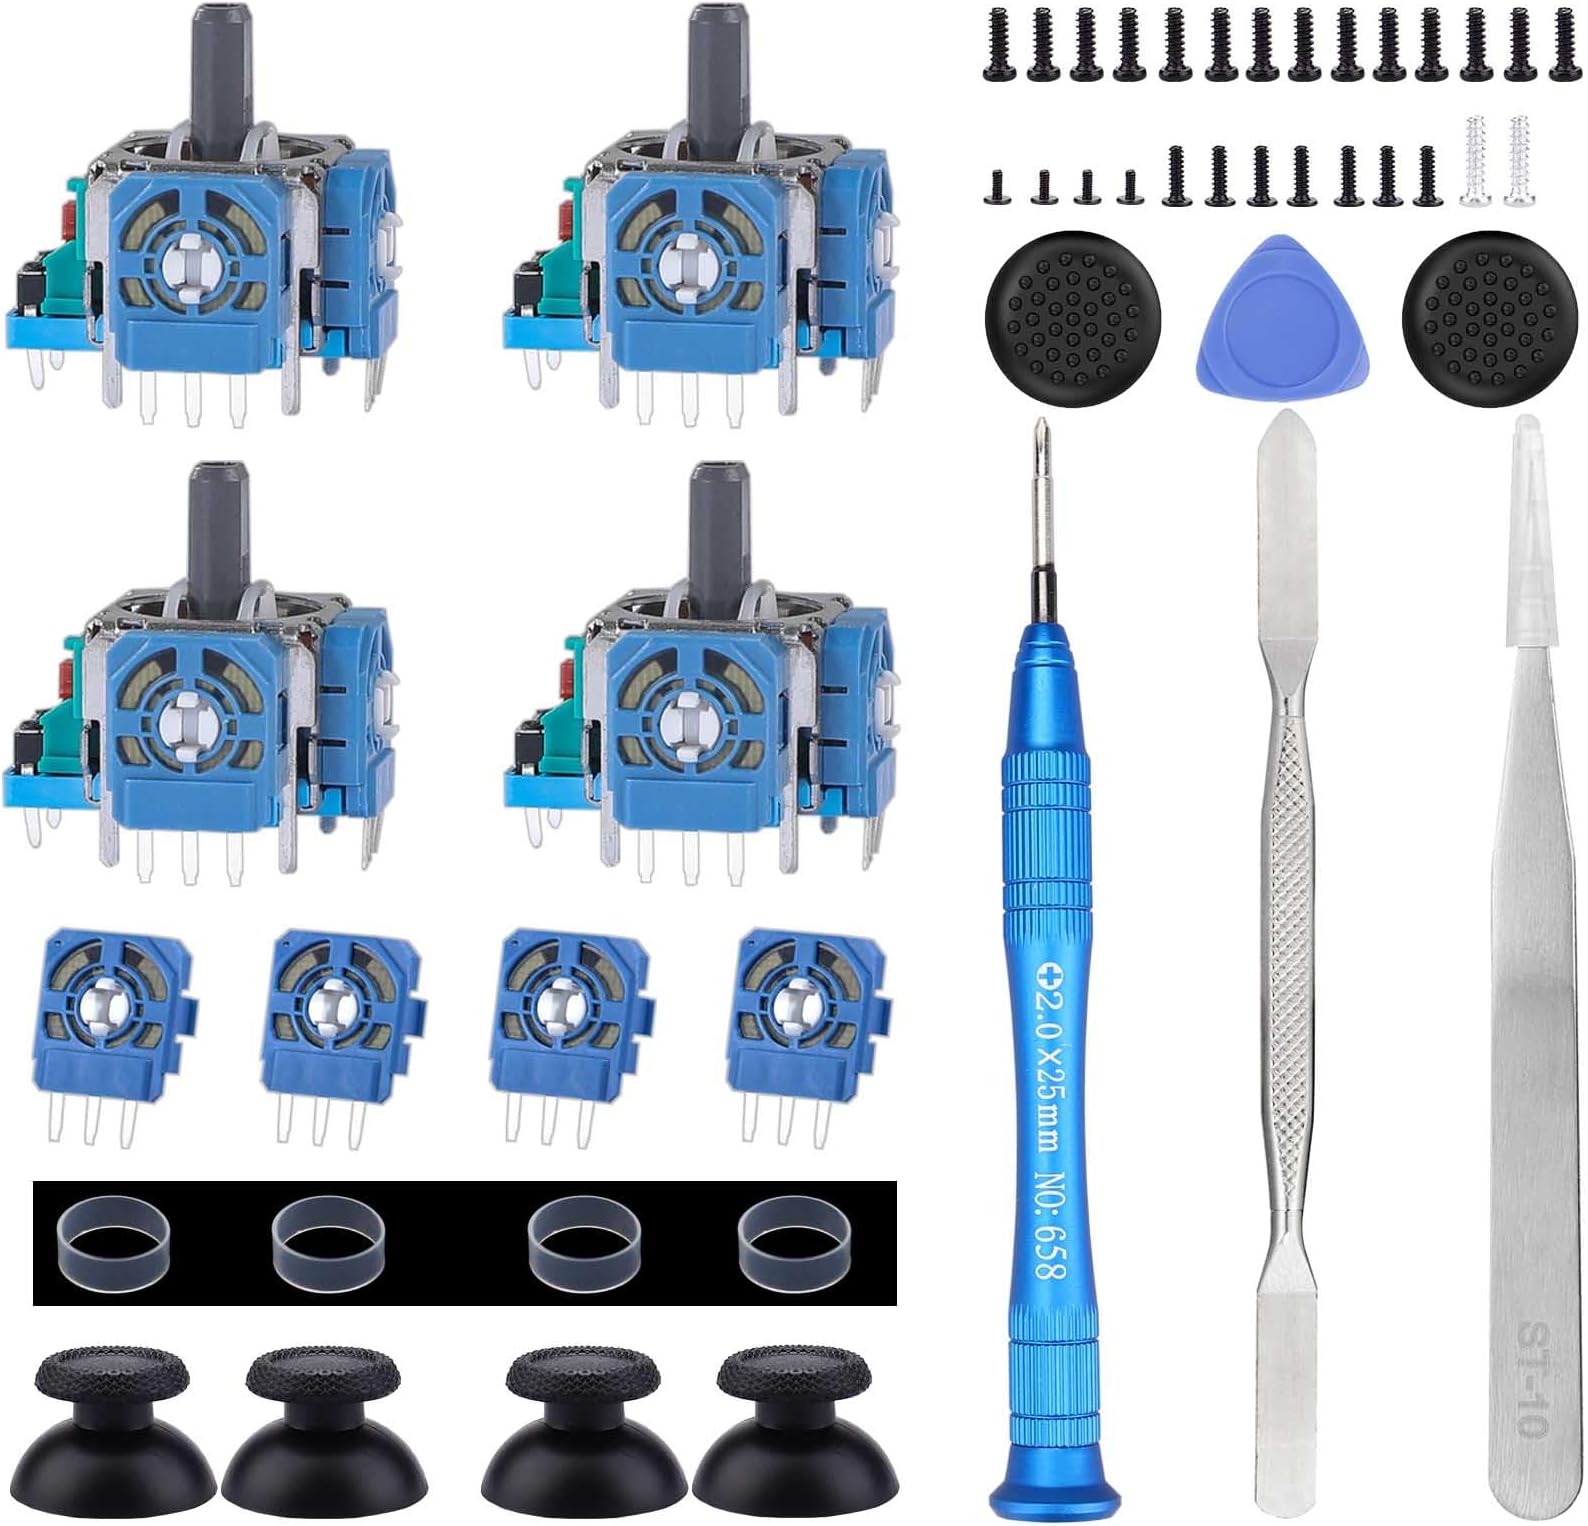
- ALL IN ONE REPAIR KIT - Includes 4 joysticks, thumbstick caps, screws & premium tools for DIY mastery
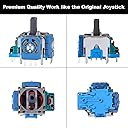
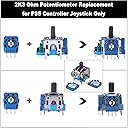
- PRO GRADE PS 5 COMPATIBILITY - Specifically engineered for flawless DualSense controller fit
- TRUSTED BY GAMERS WORLDWIDE - 4.4-star rating with 3-month warranty and responsive customer support
- DURABLE HIGH QUALITY MATERIALS - Crafted from ABS & metal for long-lasting, reliable gameplay
- BOOST YOUR CONTROLLERS LIFESPAN - Replace worn joysticks and avoid costly new purchases
The IKPEK 4pcs Analog 3D Joysticks Replacement kit is a premium-quality, PS5-exclusive repair solution featuring durable ABS and metal components. It includes 4 joysticks, thumbstick caps, screws, and a full set of professional tools for moderate soldering installation. Designed to extend your DualSense controller’s lifespan, this kit is backed by a 3-month warranty and highly rated by users for its reliability and comprehensive DIY repair capability.