Description
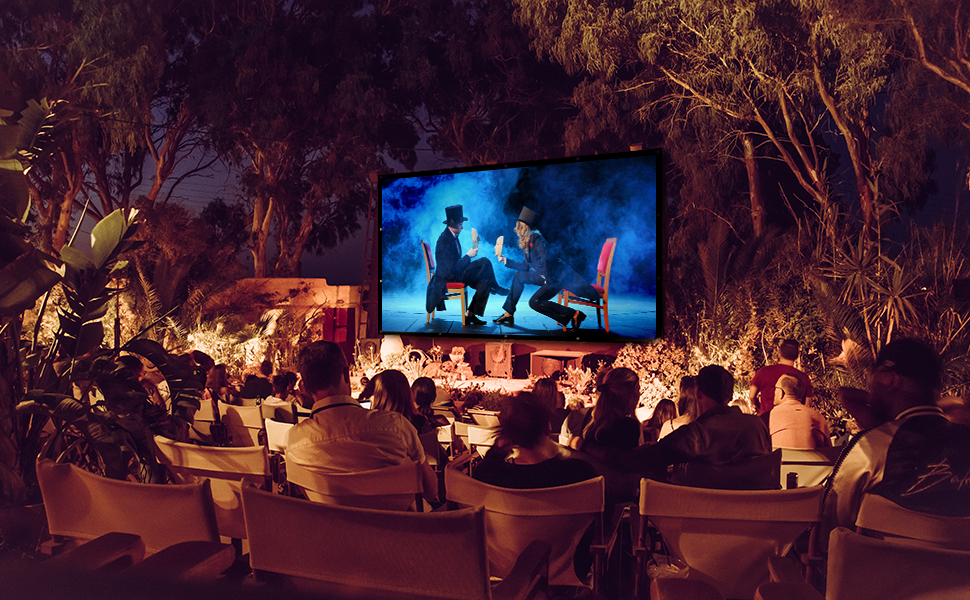
🎬 Elevate your movie nights with a colossal canvas that commands attention!
- CINEMATIC 16 9 FORMAT - Experience true widescreen HD projection that fits perfectly in modern rooms and setups.
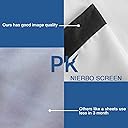
- DURABLE ECO FRIENDLY CANVAS - Thick, odorless, and washable material ensures longevity and a pristine viewing surface.
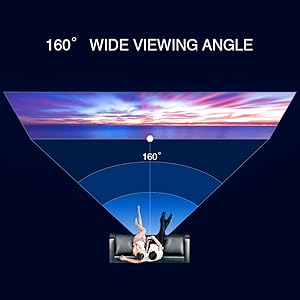
- ULTRA WIDE 160 VIEWING ANGLE - Enjoy crystal-clear images from almost anywhere in the room—no more fighting for the best seat.
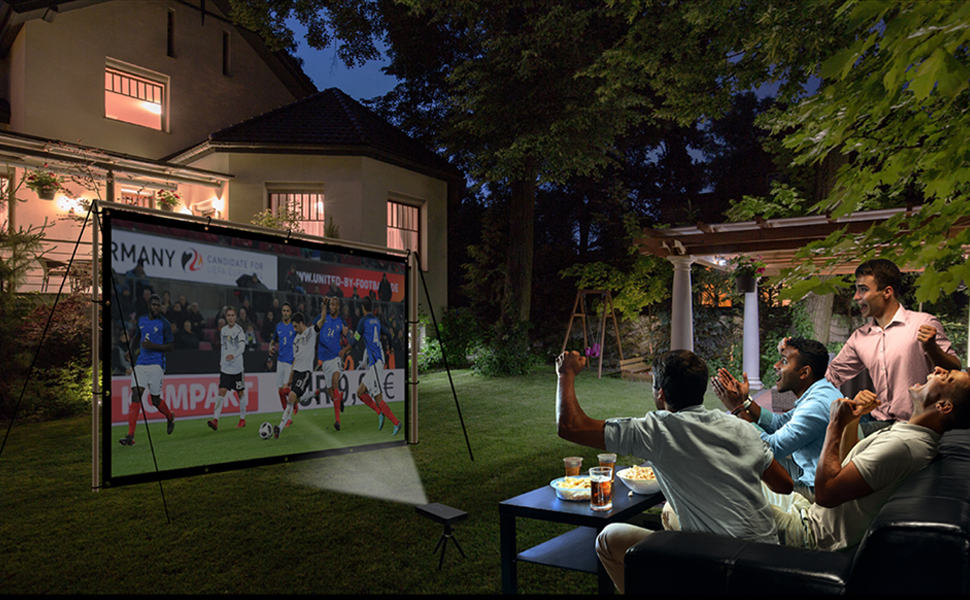
- IMMERSIVE 250 INCH VISUAL FEAST - Transform any space into a premium home theater with a massive 250" diagonal canvas.
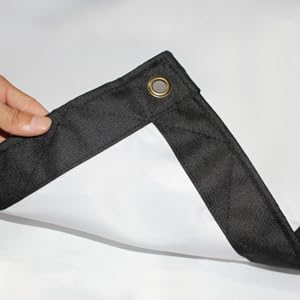
- EFFORTLESS SETUP WITH METAL EYELETS - 28 reinforced eyelets let you mount or stretch the screen your way—indoors or outdoors.
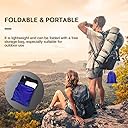
The NIERBO 250-inch projector screen delivers a stunning 16:9 HD viewing experience with a 1.6 gain and 160° wide viewing angle. Crafted from durable, eco-friendly canvas, it features 28 reinforced metal eyelets for versatile, easy installation. Perfectly sized for large rooms and outdoor use, this foldable screen is designed for professionals and enthusiasts seeking immersive, high-quality projection anywhere.